Connecting on-premises infrastructure with cloud services is crucial for scalability and flexibility. We have multiple options for establishing this connection, including Direct Connect via Partner Network and Site-to-Site VPN over MPLS. Each option offers unique benefits, and choosing the right one depends on your requirements.
This blog will discuss connection options and how to establish seamless communication between on-premises infrastructure and AWS Cloud services using AWS Direct Connect.
Connection Options
When connecting your on-premises environment to the AWS Cloud, you have two primary options, depending on your requirements for performance, security, and cost:
1. Direct Connect via Partner Network
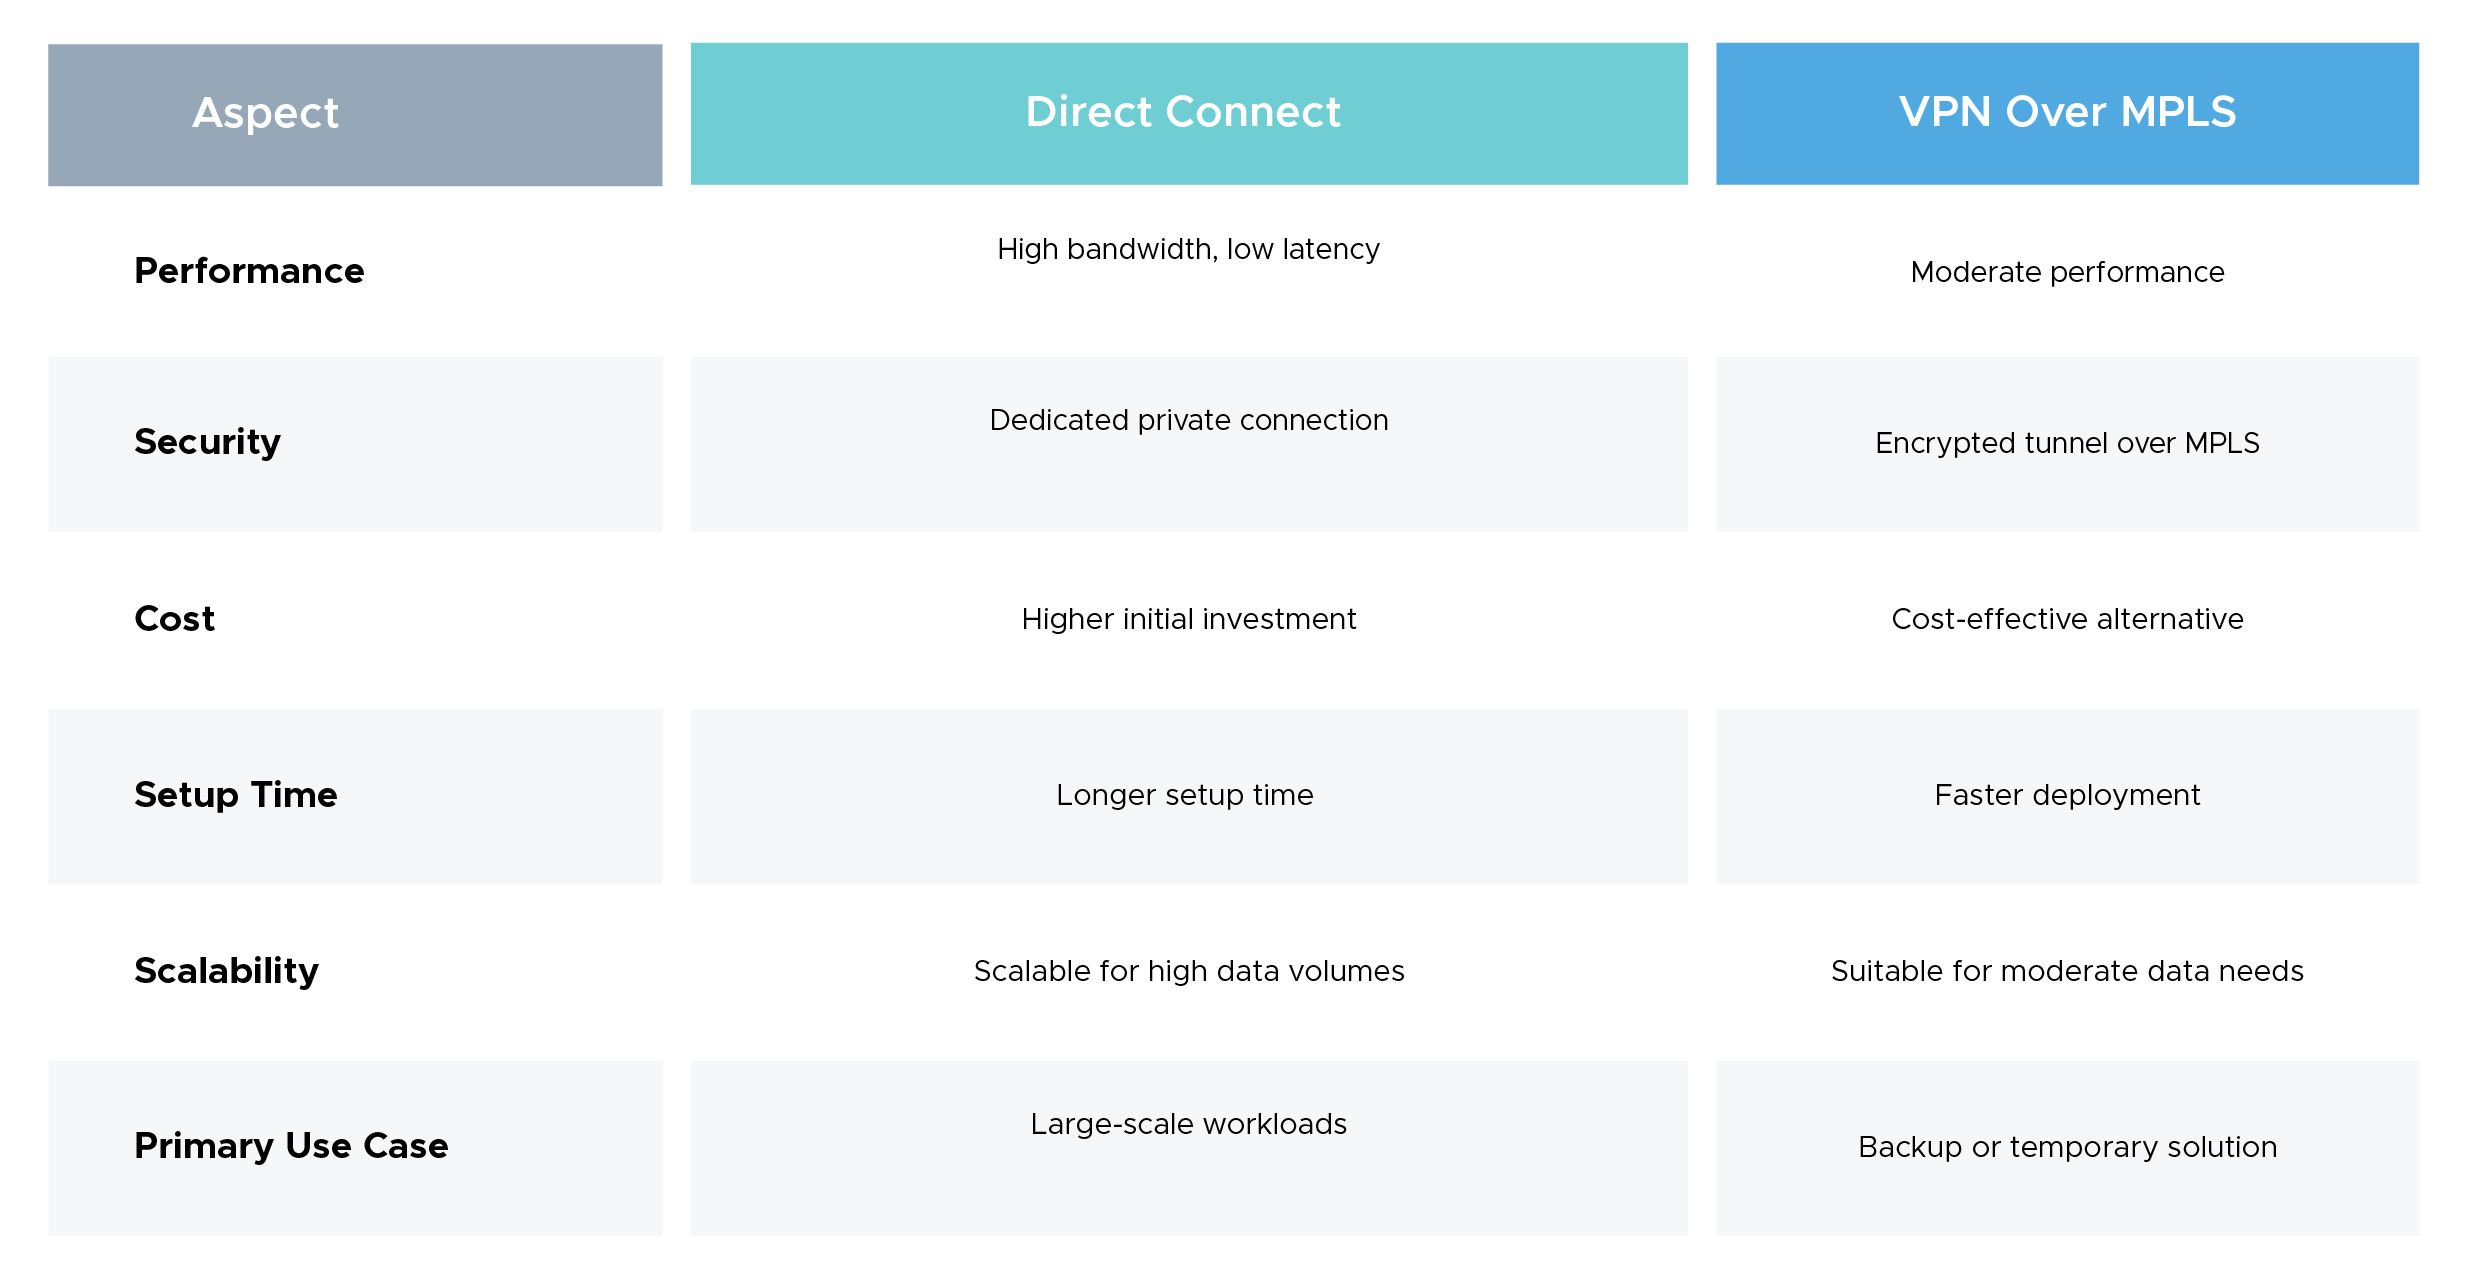
Direct Connect via a partner network provides a dedicated, private connection to AWS Cloud. It is ideal for businesses requiring high bandwidth, low latency, and secure connectivity for mission-critical workloads
Features and Benefits:
Dedicated Connection: Private, high-performance link between your on-premises environment and AWS.
Low Latency: Ensures consistent and predictable network performance, which is crucial for latency-sensitive applications.
High Bandwidth: Designed for workloads requiring large-scale data transfers or hybrid cloud setups.
Enhanced Security: Avoids exposure to the public internet, providing an extra layer of security.
Managed Service: AWS Direct Connect Partners handle setup, provisioning, and maintenance.
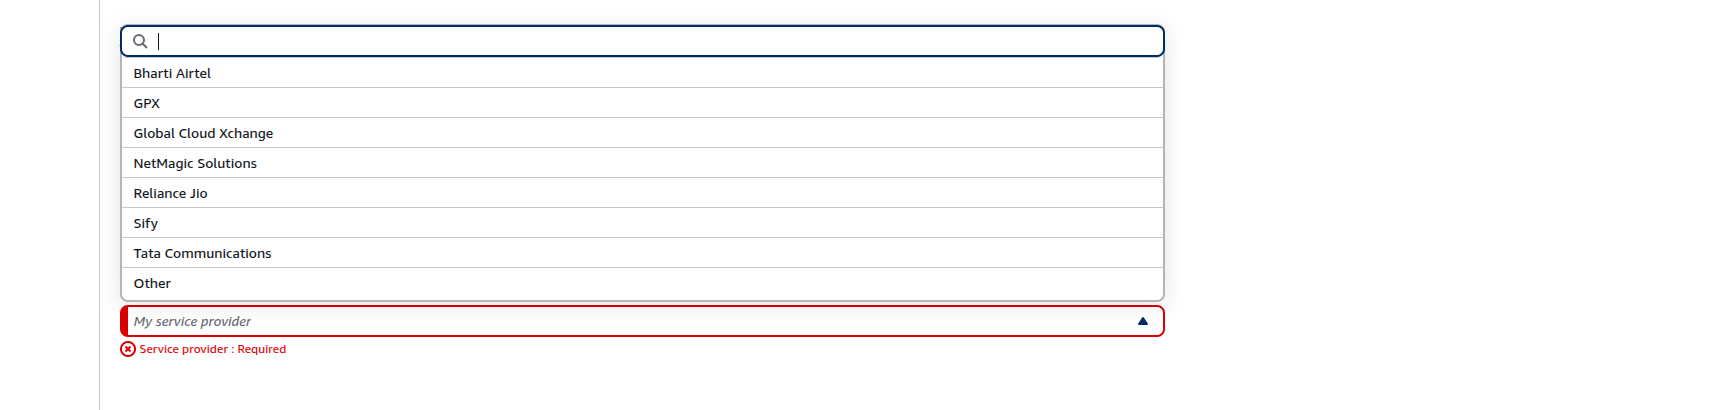
AWS Direct Connect Partners in India:
AWS collaborates with several trusted partners to provide Direct Connect services in India, including:
Bharti Airtel
GPX
Global Cloud Xchange
NetMagic Solutions
Reliance Jio
Sify
Tata Communications
Other AWS-certified partners
2. Site-to-Site VPN Over MPLS
A Site-to-Site VPN over MPLS provides a secure, encrypted connection to AWS Cloud using your existing MPLS network. It is a viable option when Direct Connect is not feasible or as a backup solution.
Features and Benefits:
Secure Connectivity: Establishes an encrypted VPN tunnel (IPsec) over the MPLS network for data protection.
Leverages Existing Infrastructure: Utilizes your current MPLS setup, reducing additional overhead.
Cost-Effective: Suitable for businesses with moderate data transfer needs or as a fallback.
Faster Deployment: This can be deployed faster than Direct Connect, making it ideal for urgent use cases.
Use Cases:
Ideal for businesses with limited bandwidth requirements.
Functions as a disaster recovery or failover solution alongside Direct Connect.
Choosing between the two connection options
What is MPLS + AWS Direct Connect?
MPLS (Multi-Protocol Level Switching): A private network service offered by many telecom providers, enabling secure, low-latency connections between remote locations. AWS Direct Connect: A dedicated private network connection between on-premises infrastructure and AWS offers more consistent network performance than traditional internet connections.
By integrating these two technologies, you can ensure a high-performance, secure, and scalable connection between your on-premises environment and AWS Cloud.
Step-by-Step Guide: AWS Direct Connect with MPLS
AWS Direct Connect offers two main types of connections for establishing communication between your on-premises environment and AWS Cloud: Dedicated Connections and Hosted Connections.
Note:- In this article, we have utilized Tata MPLS and AWS Direct Connect Partner, however depending on the use case and availability, one can go for other available partners as well.
1. Dedicated Connections
A Dedicated Connection is a physical connection provided directly by AWS between your on-premises data center and an AWS Direct Connect location.
2. Hosted Connections
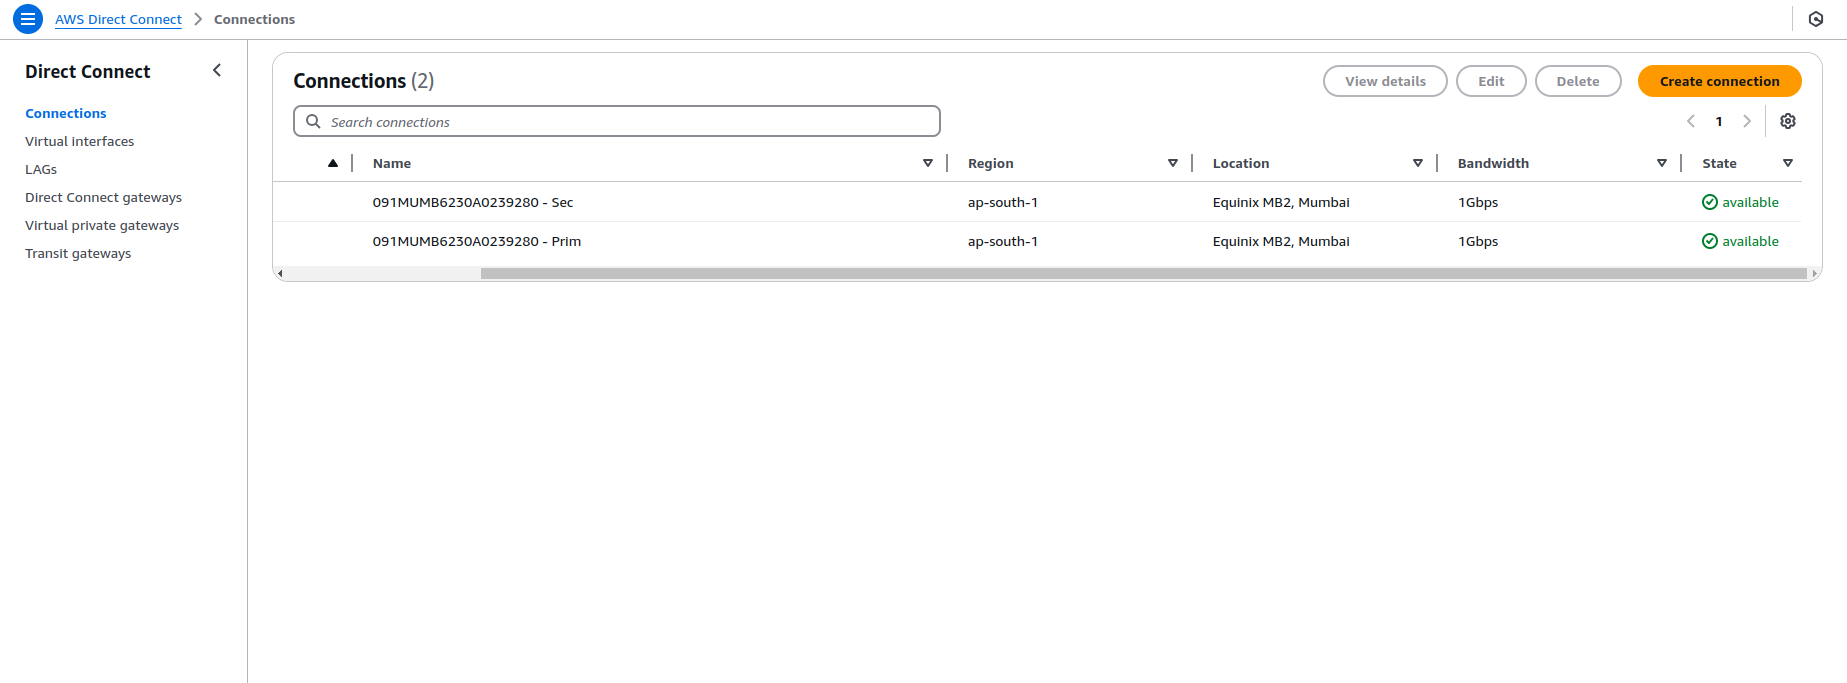
A Hosted Connection is a shared connection where an AWS Direct Connect Partner (Tata Communications) provides an infrastructure connection to an AWS Direct Connect location on your behalf. In this section, we will explore Hosted Connections in detail, discussing their setup, configuration, and the process of connecting to AWS via MPLS.
What is a Hosted Connection?
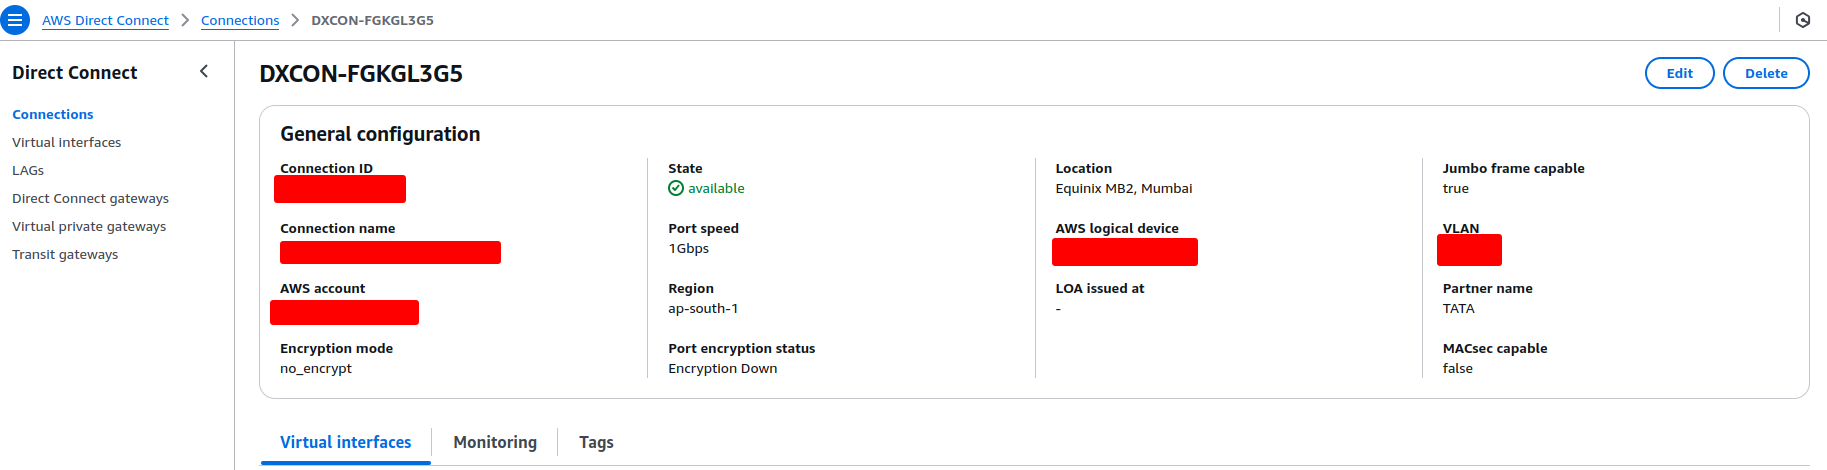
A Hosted Connection is a connection provisioned and managed by an AWS Direct Connect Partner, Tata Communications. Unlike Dedicated Connections, where AWS provides a direct physical link from your on-premises data center to an AWS Direct Connect location, Hosted Connections use shared infrastructure managed by the partner. The partner handles the physical infrastructure and provisioning, and you access AWS Cloud resources via a shared connection.
Key Features of Hosted Connections:
Lower Entry Cost: Hosted Connections offers a more cost-effective solution as the AWS partner manages the infrastructure, removing the need for your business to invest in expensive hardware and installation.
Scalability: With Hosted Connections, businesses can start with lower bandwidth requirements (50 Mbps to 10 Gbps) and scale as needed without the upfront cost of dedicated hardware.
Managed Service: The partner, Tata Communications, takes care of provisioning, setup, monitoring, and troubleshooting, reducing your team's operational overhead.
Flexible Bandwidth Options: Hosted Connections come with flexible bandwidth options, typically ranging from 50 Mbps to 10 Gbps, allowing businesses to choose the right bandwidth for their needs.
Quick Setup: Because the partner manages the physical infrastructure, Hosted Connections can be set up quickly, ensuring faster time to market for cloud-based applications.
How do you configure a hosted connection with TATA MPLS?
Setting up a Hosted Connection via TATA MPLS requires several steps. These steps involve coordination between your on-premises infrastructure, TATA Communications, and AWS Direct Connect. Here’s a step-by-step guide:
Step 1: Choose Your AWS Direct Connect Partner
Select an AWS Direct Connect Partner that supports MPLS connectivity (like Tata MPLS) based on your region and requirements
Work with TATA Communications to understand the available bandwidth options and select the appropriate bandwidth (50 Mbps to 10 Gbps) based on your needs.
Step 2: Request a Hosted Connection
Once you’ve selected your bandwidth and partner, submit a request to your chosen AWS Direct Connect Partner ( Tata MPLS) to provision the Hosted Connection.
AWS Direct Connect partner TATA will provision the necessary infrastructure and set up the connection from their side to the AWS Direct Connect location.
Step 3: Provision the Hosted Connection in AWS
After TATA provisions the connection, the AWS Direct Connect Partner will initiate the setup process on AWS’s side. You will receive the AWS Direct Connect Letter of Authorization and Connecting Facility Assignment (LOA-CFA), which is a critical document to proceed with connecting the Hosted Connection.
AWS will verify the connection, and once approved, it will be available for use.
Step 4: Establish BGP Routing
With the Hosted Connection in place, you will need to configure Border Gateway Protocol (BGP) for routing between your on-premises network and AWS Cloud.
BGP ensures that the network traffic between your on-premises infrastructure and AWS Cloud is routed efficiently, dynamically adjusting routes in case of network failures or performance issues.
Setting Up BGP Routing
To establish efficient and dynamic routing between your on-premises infrastructure and AWS Cloud, follow these steps for BGP (Border Gateway Protocol) configuration:
Step i: Exchange BGP Details
When setting up BGP routing, you will receive the following details:
AWS Side ASN
The ASN is provided by AWS (default: 64512 or custom upon request).
BGP IP Addresses
A pair of IP addresses for the BGP session, typically in a /30 subnet.
Example:
AWS Router IP: 192.168.1.1
Customer Router IP: 192.168.1.2
MD5 Authentication Key (Optional)
If enabled, AWS provides an MD5 key for securing the BGP session.
Prefixes Advertised by AWS
CIDR ranges of AWS resources that will be shared with your on-premises router.
Step ii: Configure Your On-Premises Router
On your on-premises router:
Set the BGP Neighbor
Add AWS's router IP as the BGP neighbor.
Advertise Your Prefixes
Specify the IP ranges (CIDR blocks) of your on-premises network to share with AWS.
Apply MD5 Key (if applicable)
Secure the BGP session with the provided MD5 key.
Configure Route Policies
Control the inbound and outbound routes to optimize traffic flow.
Step iii: Test and Verify
Verify BGP Session
Ensure the BGP session state is Established.
Check Route Tables
Confirm that both AWS and on-premises prefixes are correctly advertised and visible in the routing tables.
Perform Connectivity Tests
Use ping or traceroute to verify connectivity through the Hosted Connection.
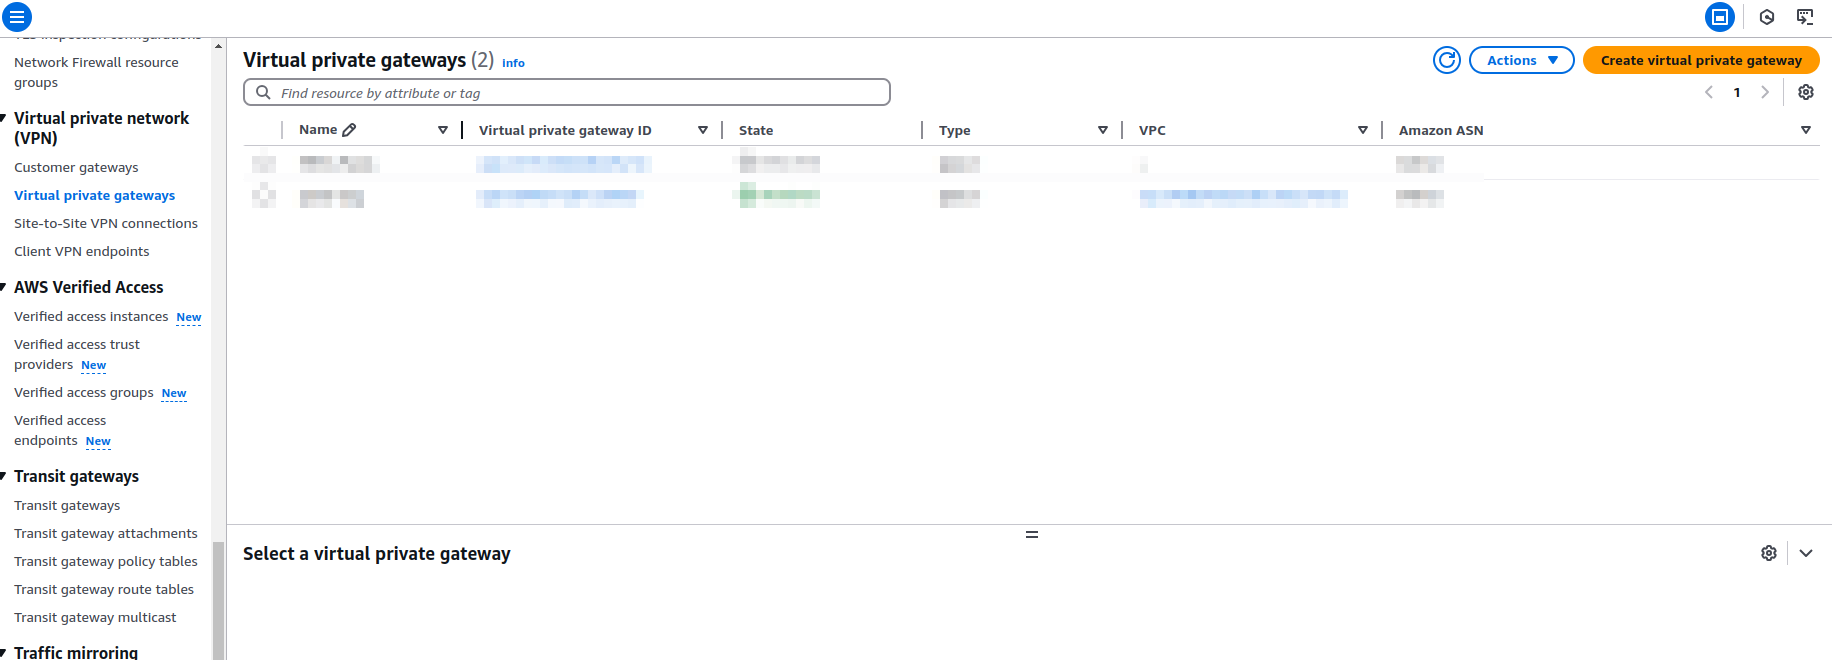
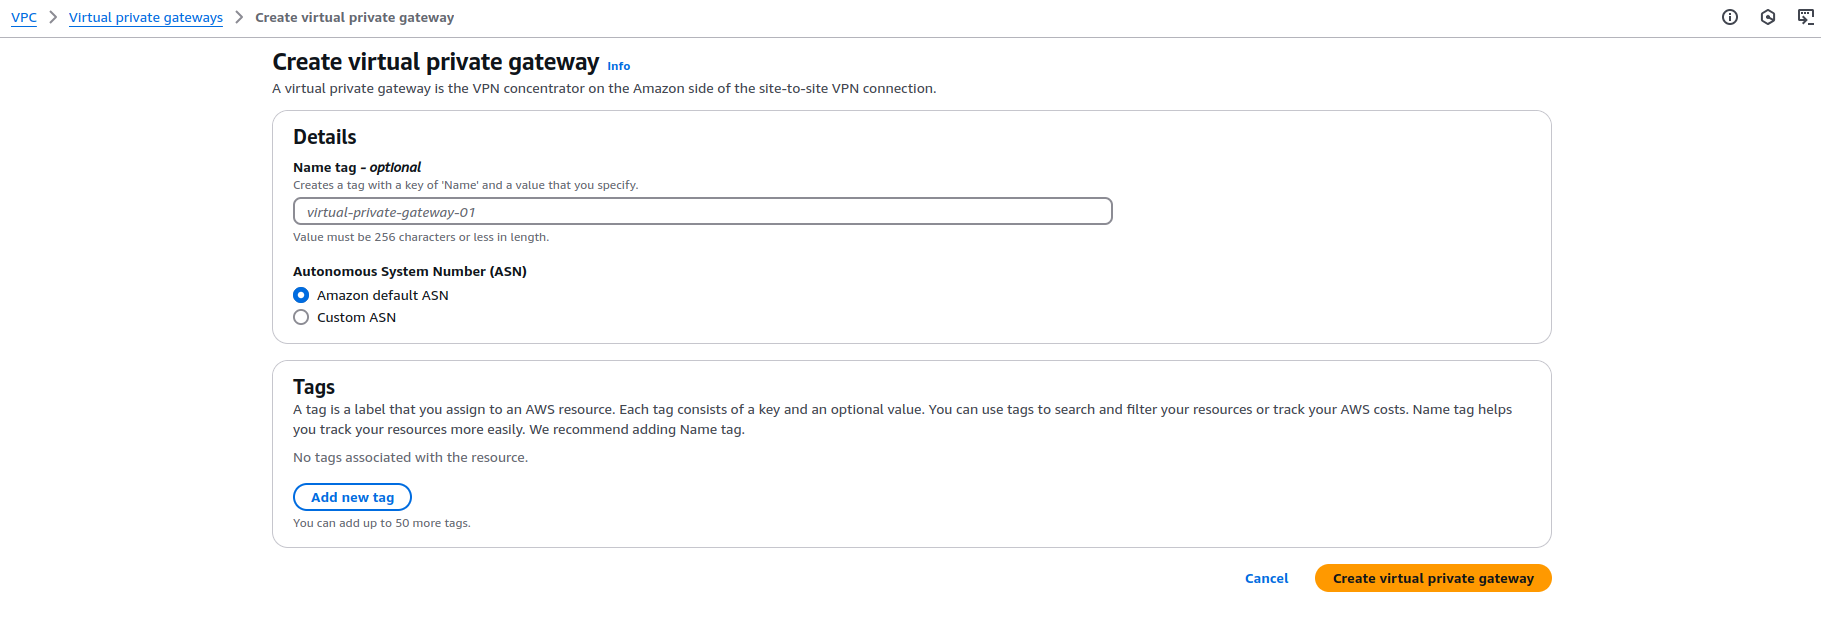
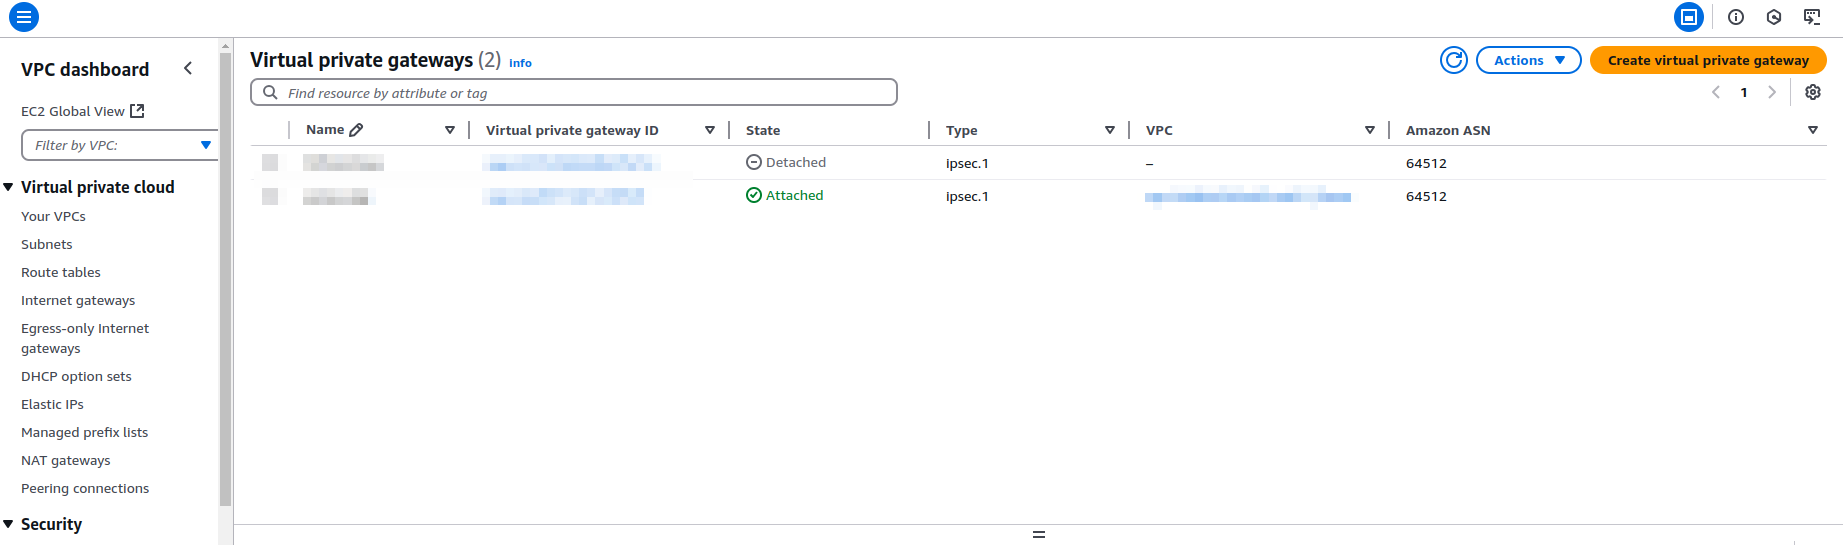
Step 5: Create a Virtual Private Gateway (VGW)
Navigate to the AWS Management Console:
Go to VPC > Virtual Private Gateways.
Virtual Private Gateways listed in AWS Management Console
Create a VGW:
Click Create Virtual Private Gateway.
Specify a name and enter your ASN (default: 64512 or a custom private ASN).
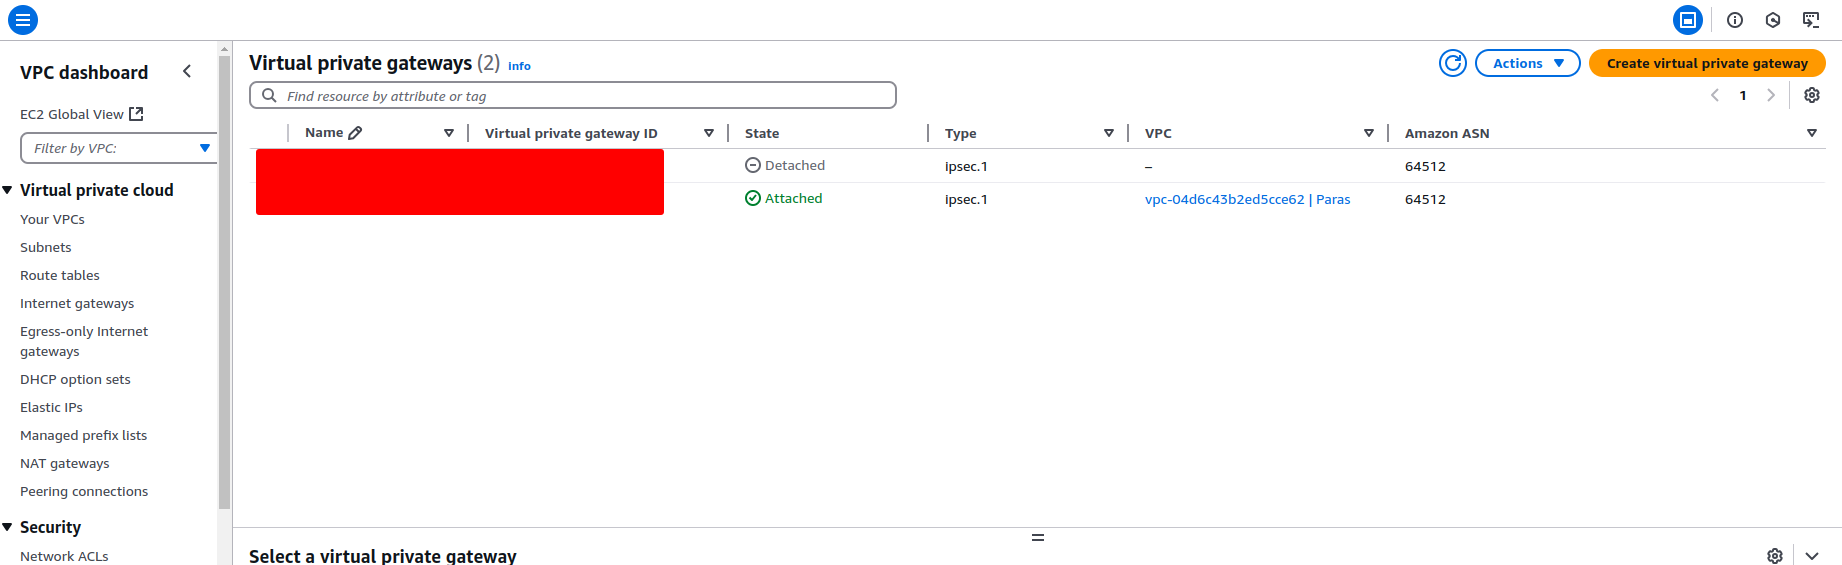
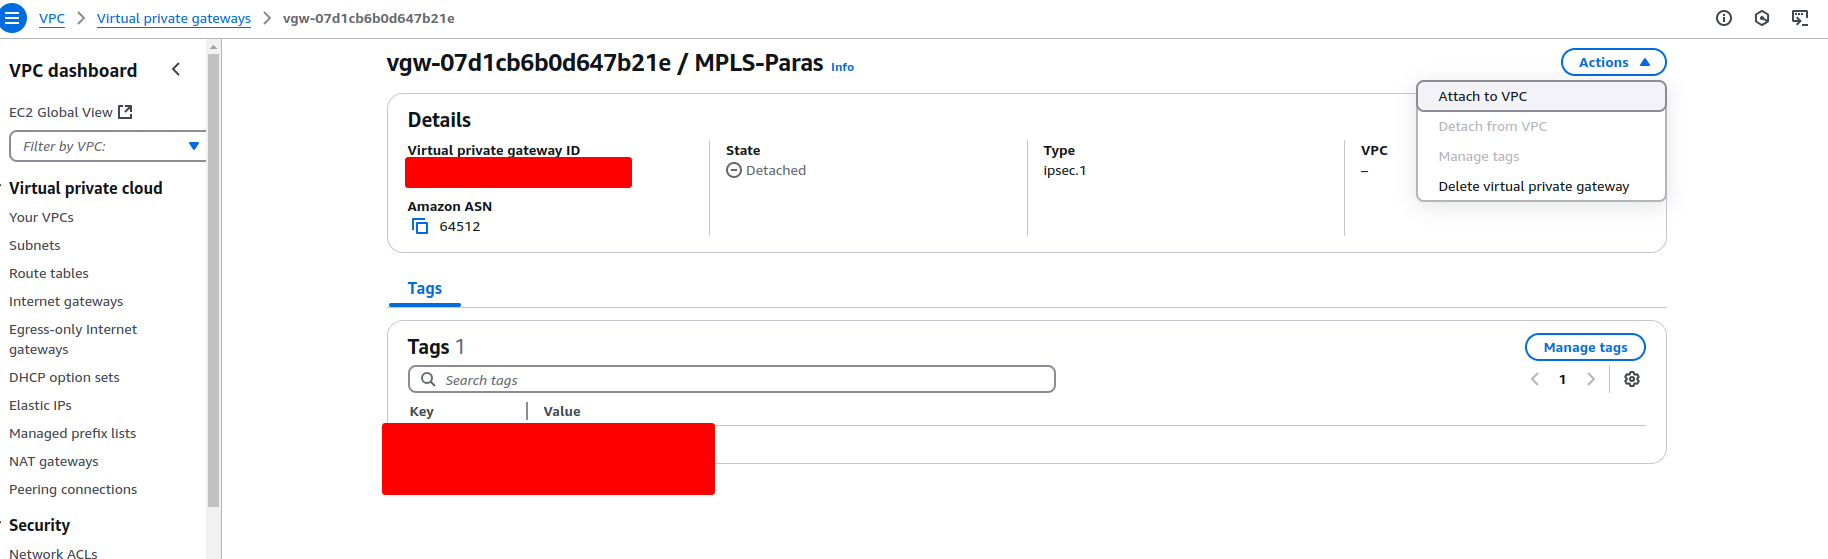
Attach VGW to the VPC:
Select the VGW.
Click Actions > Attach to VPC.
Choose the VPC you want to associate.
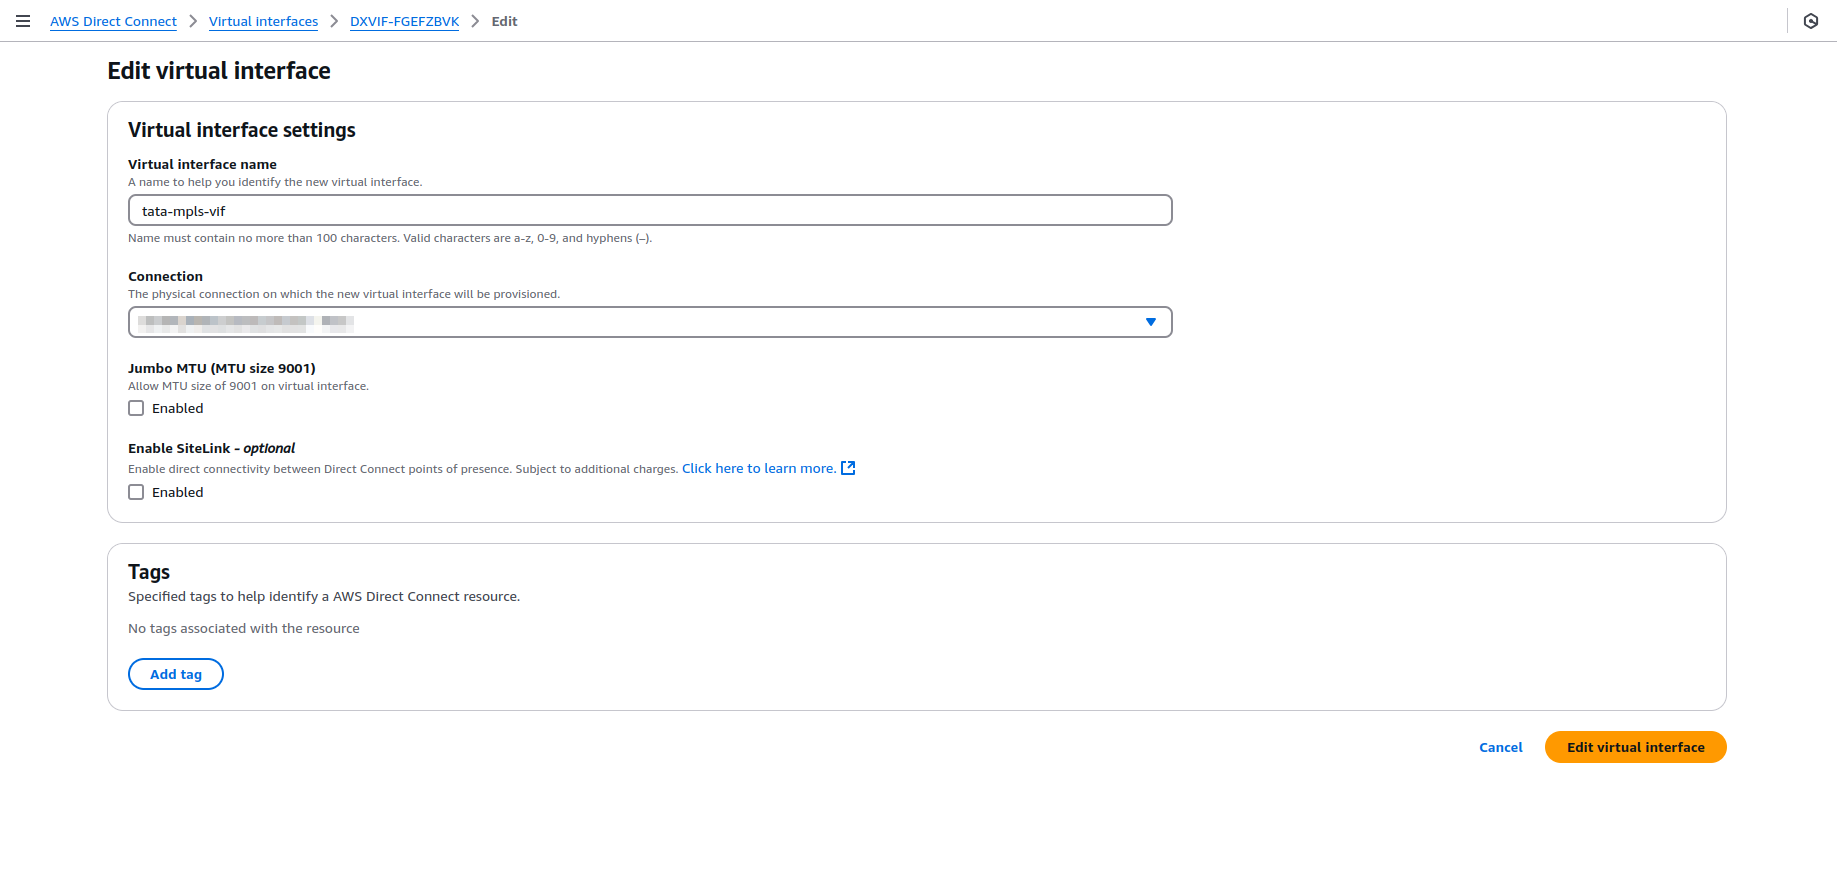
Step 6: Set Up VLANs and Virtual Interfaces
AWS Direct Connect uses Virtual Interfaces (VIFs) to separate traffic for different AWS services or environments (e.g., Public and Private). Set up Private VIF to connect to the AWS VPCs Service. Set up Public VIF to access AWS public services such as S3 or EC2 directly over the Direct Connect link.
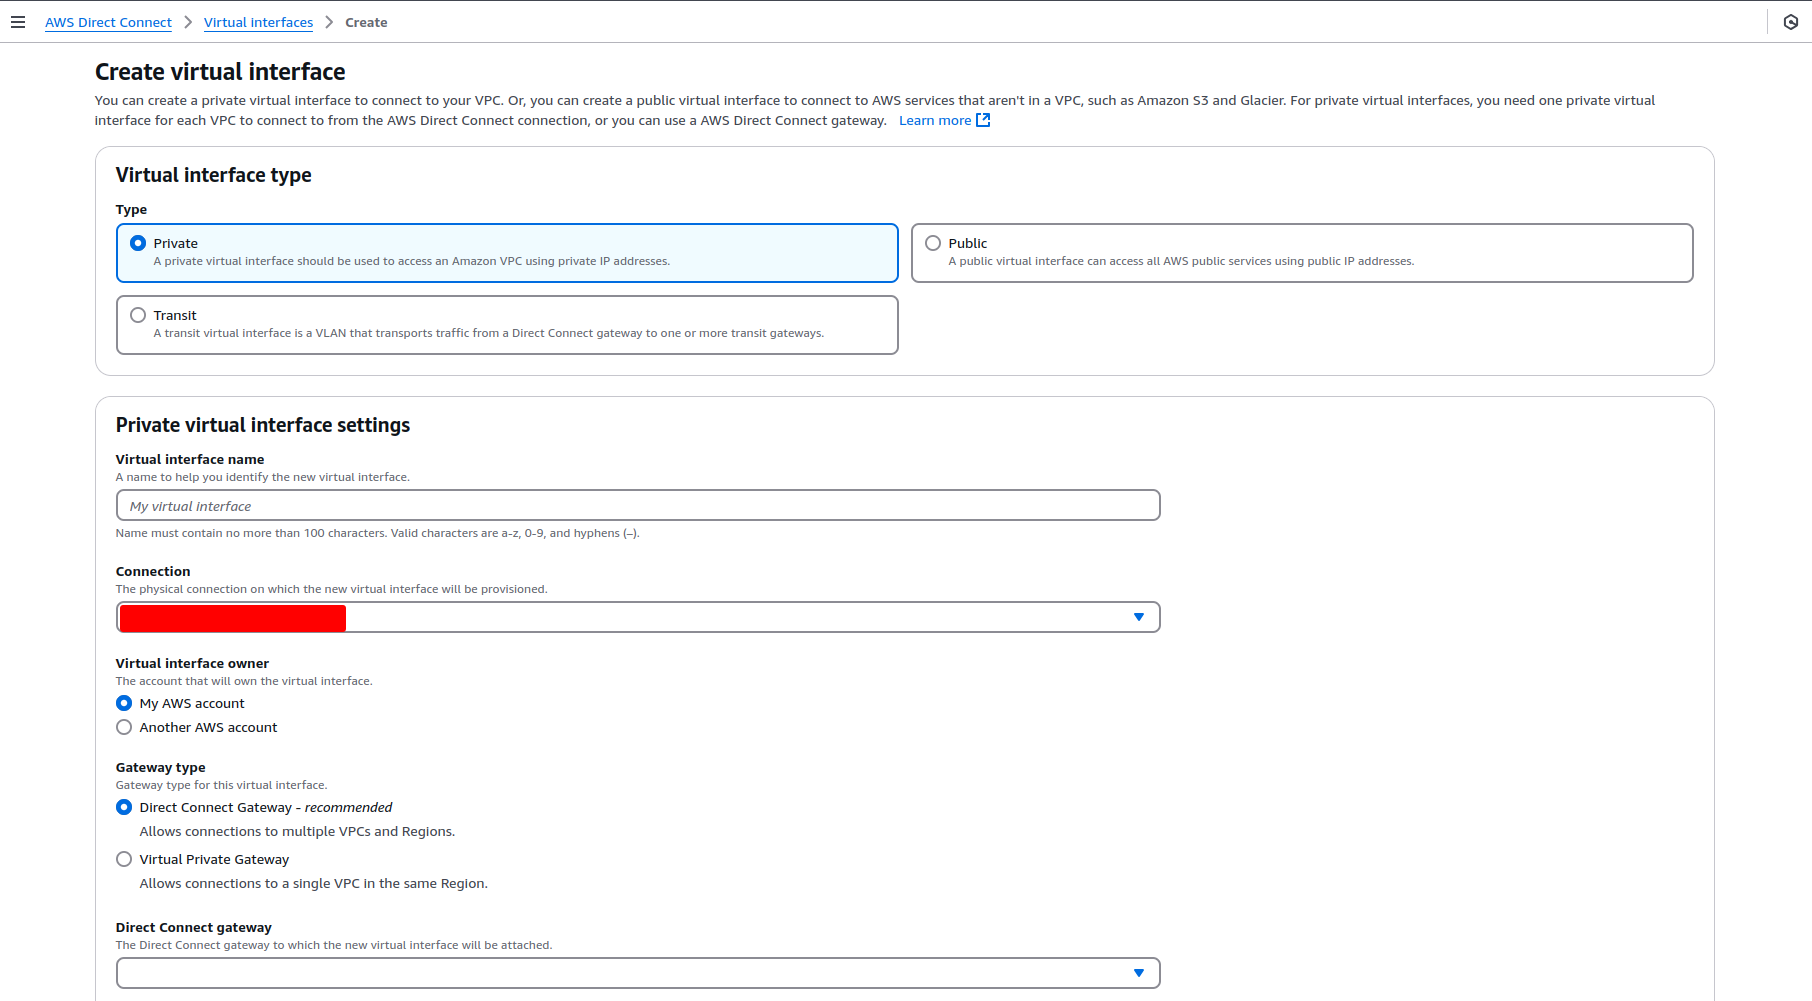
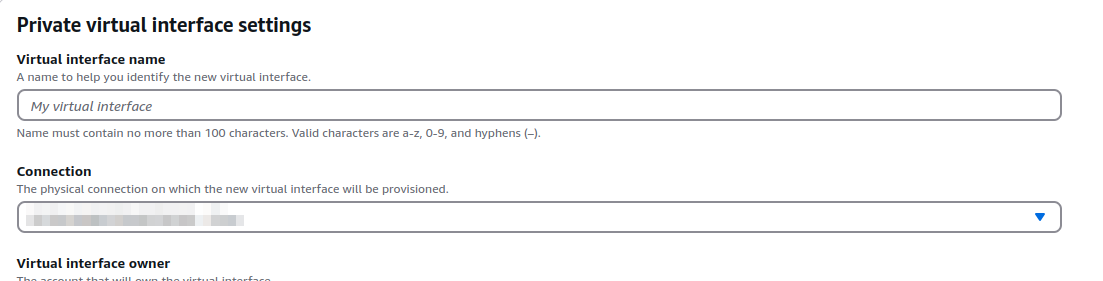
Create a Private Virtual Interface (VIF)
Navigate to AWS Direct Connect:
1. Go to AWS Management Console > Direct Connect > Virtual Interfaces.
2. Create a Private VIF:
Click Create Virtual Interface.
Select Private Virtual Interface.
Provide the following details:
Connection
Select the AWS Direct Connect connection.
Virtual interface owner: Select a virtual interface owner like My AWS account.
Gateway type: Select the gateway type you want to use, such as Direct Connect Gateway (for multiple VPCs) or Virtual Private Gateway.
Direct Connect gateway - Select the gateway name.
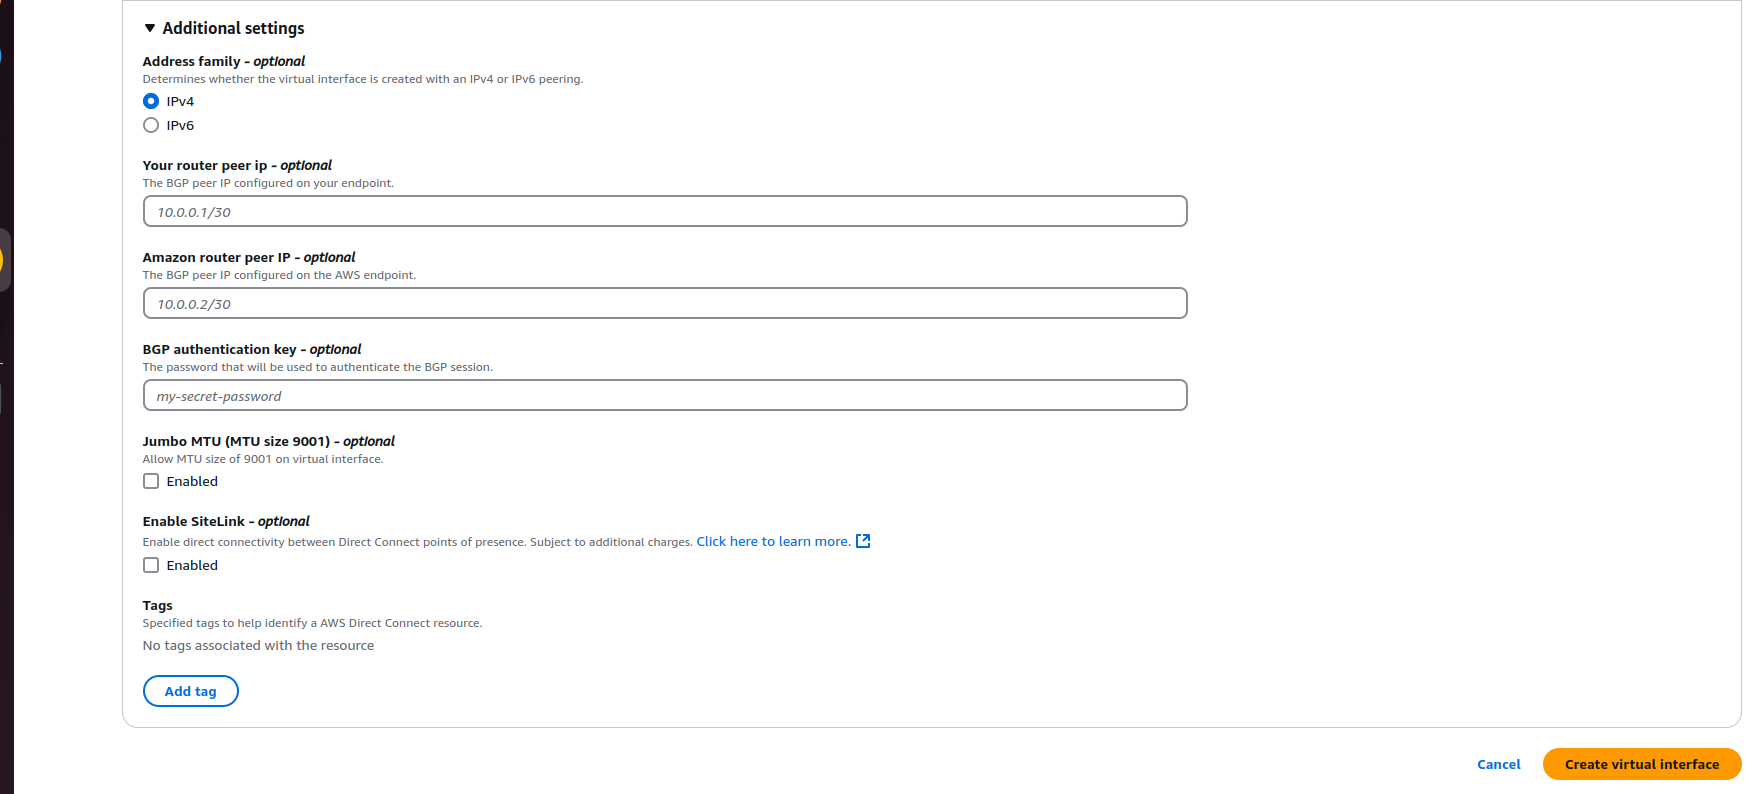
VLAN ID: Enter the VLAN ID for traffic segmentation
BGP ASN: Use the same ASN as specified during VGW creation.
IP Addresses: Optionally, specify IP addresses for BGP peering (AWS provides default IPs if left blank).
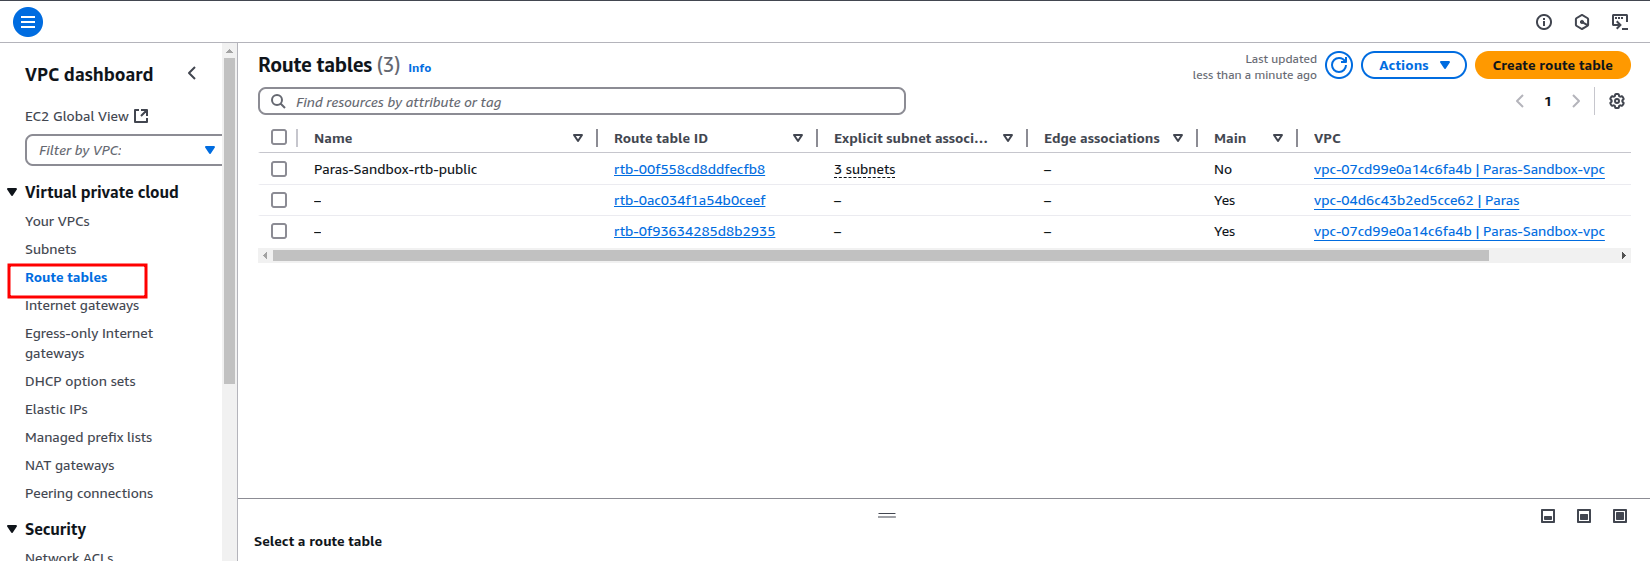
Step 6: Update the Route Table
Updating the Route Table ensures that traffic between your on-premises infrastructure and AWS services is routed through the AWS Direct Connect link instead of traversing the public internet.
Steps to Modify the Route Table
Access Your AWS VPC Route Table
Go to the Amazon VPC Console in the AWS Management Console.
Navigate to Route Tables under the Virtual Private Cloud section.
Identify the route table associated with the VPC where you want to direct traffic.
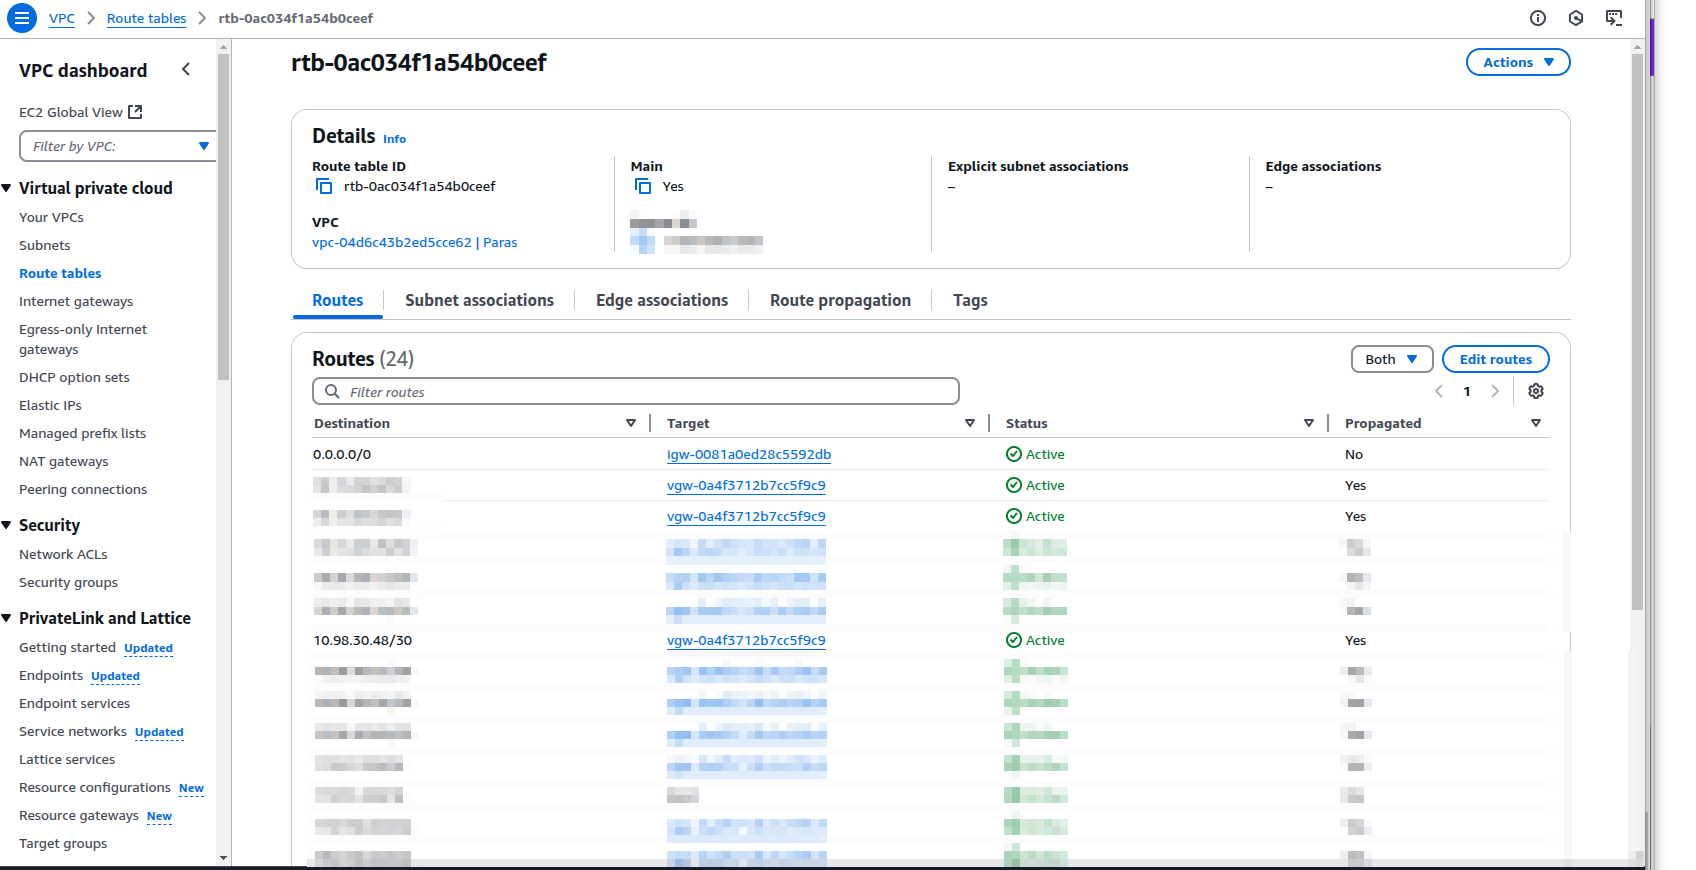
Add a Route for Your On-Premises Network
Edit the route table by clicking the Edit Routes button.
Add a new route
Destination: Specify the CIDR block of your on-premises network (e.g., 192.168.0.0/16).
Target: Select the Direct Connect Gateway (DX Gateway) or Virtual Private Gateway (VGW) associated with your Direct Connect connection.
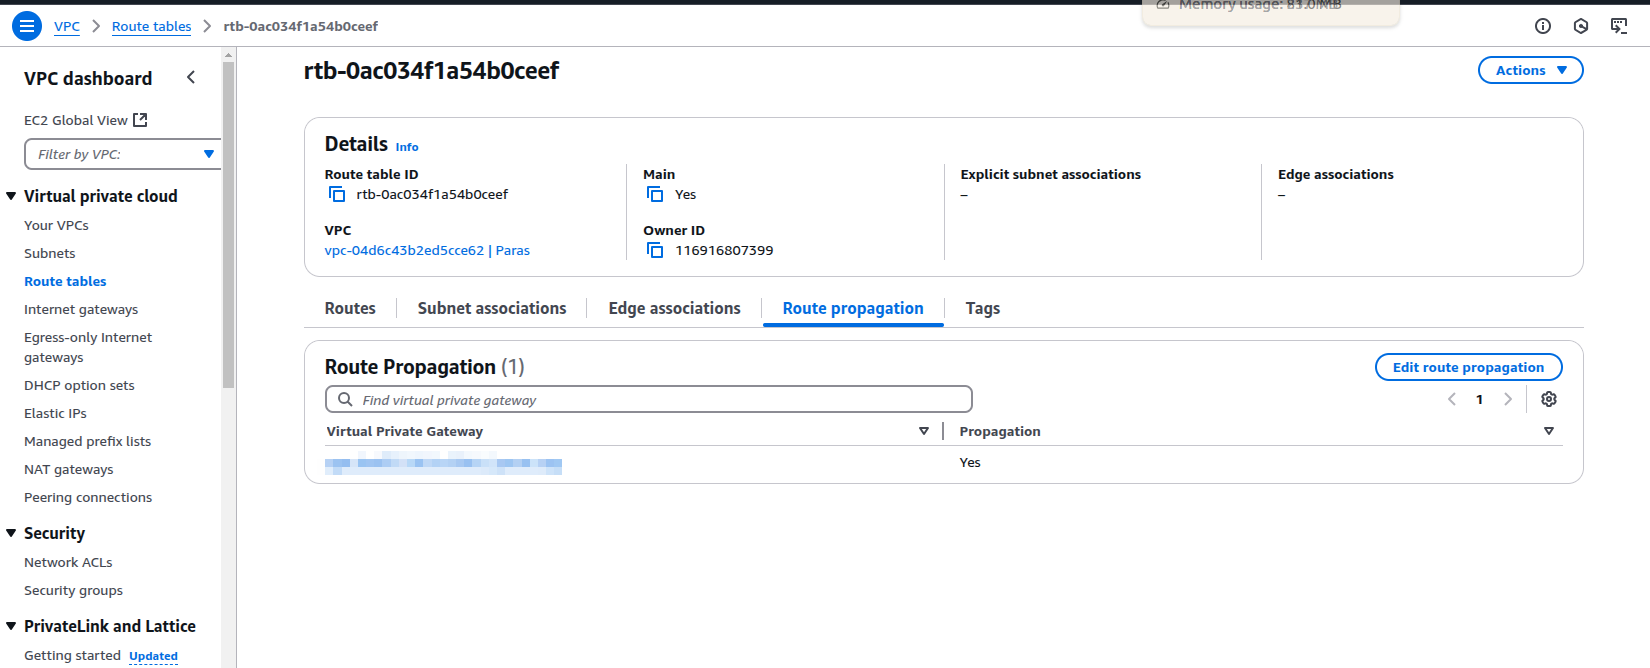
Propagate Routes from the VGW (Optional).
If you're using a Virtual Private Gateway (VGW), enable route propagation to automatically add routes advertised by your on-premises BGP peers:
Go to the Route Tables section.
Select the route table and click Route Propagation.
Enable propagation for the Virtual Private Gateway linked to your Direct Connect.
Step 7: Testing the Connection
Once the Hosted Connection is configured, you must test the link to ensure the connection is stable and performs as expected. Use AWS and TATA Communications' monitoring tools to track performance metrics such as latency, throughput, and uptime.
Conduct performance tests to verify the bandwidth and latency levels meet your business requirements.
Wrapping Up
By the end of this blog, you should be able to set up a Hosted Direct Connect connection. This document provides high-level information on how to establish a secure connection between your on-premises environment and the AWS Cloud using an MPLS-backed AWS Direct Connect setup.
Governance, Security & Lifecycle Protection with Crossplane
In the fourth edition of the Reimagining IaC series, learn how Crossplane governance, Kyverno, RBAC, and IRSA enforce compliance and protect AWS infrastructure at scale.
The Hidden Costs of Manual AWS RI Commitment Buying (and How Automation Fixes Them)
Manual Reserved Instance management often results in coverage gaps, underutilization, and missed savings opportunities. Learn how automation and AI-powered CloudKeeper Commit help optimize RI portfolios.
Onboarding AWS with Crossplane: Importing RDS, S3, and EKS Safely
In the third edition of this series, Reimagining Traditional IaC, we explore how to onboard AWS resources with Crossplane, covering the process step by step with code snippets, key learnings, and practical next steps.
By Neetesh Yadav
12 Jun, 2026
Speak with our advisors to learn how you can take control of your Cloud Cost