

DevOps Engineer
Jatin is a DevOps Engineer with expertise and multiple certifications in Azure and AWS.
14 Oct, 2025 | 3 Min read
This guide will walk you through setting up SAML authentication for your Amazon Grafana Workspace, allowing users to log in through AWS IAM Identity Center (formerly AWS SSO). This process enhances security and streamlines user management by centralizing access control.
First, you'll need to retrieve some key details from your Grafana workspace to configure the application in the IAM Identity Center.
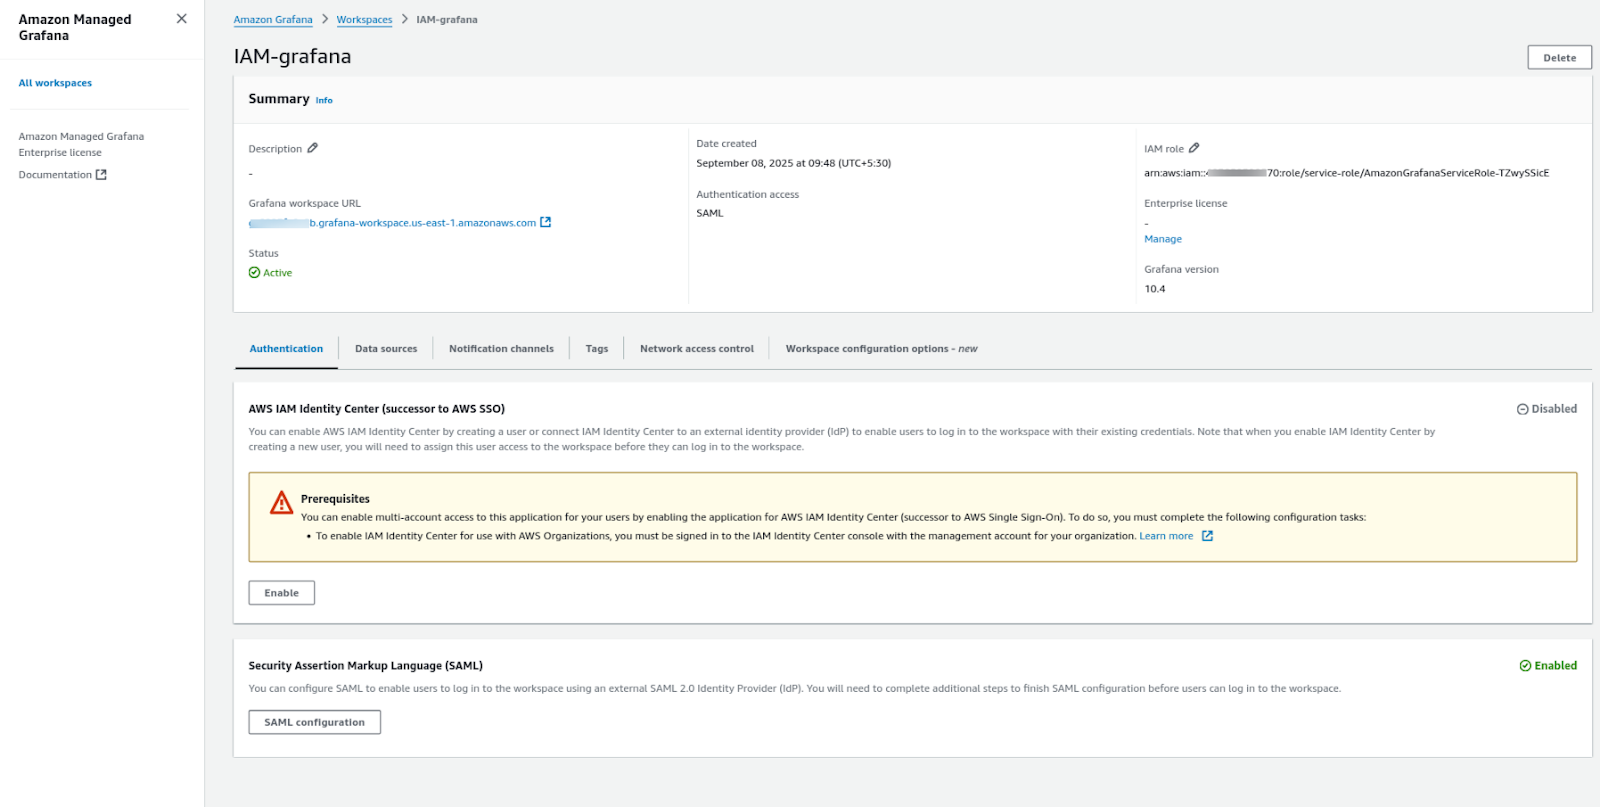
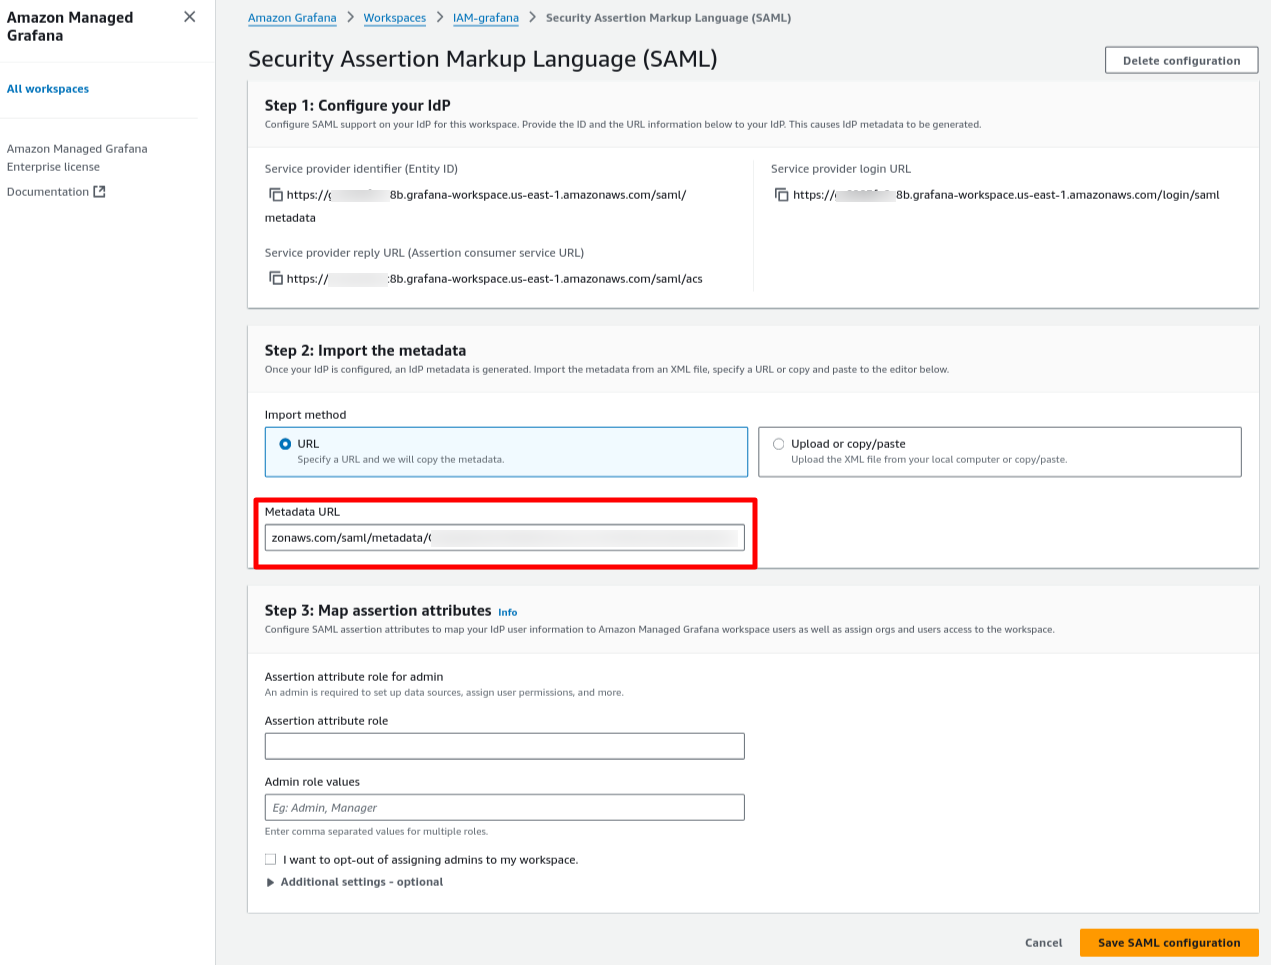
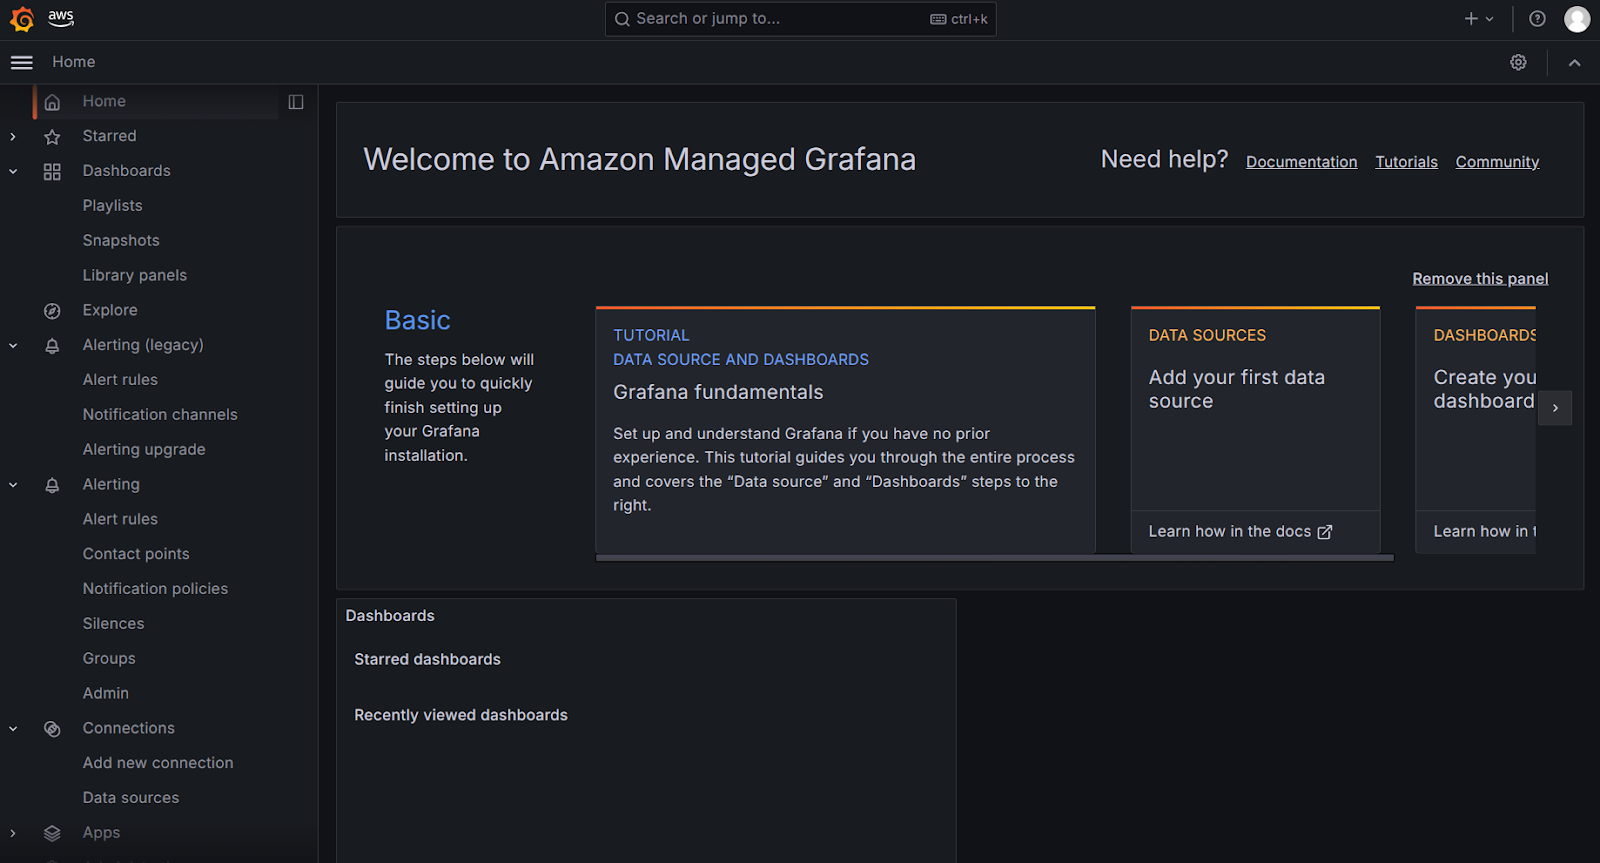
Navigate to your Amazon Grafana Workspace and click on the SAML configuration button.
a) Navigate to your Amazon Grafana Workspace and click on the SAML configuration button.
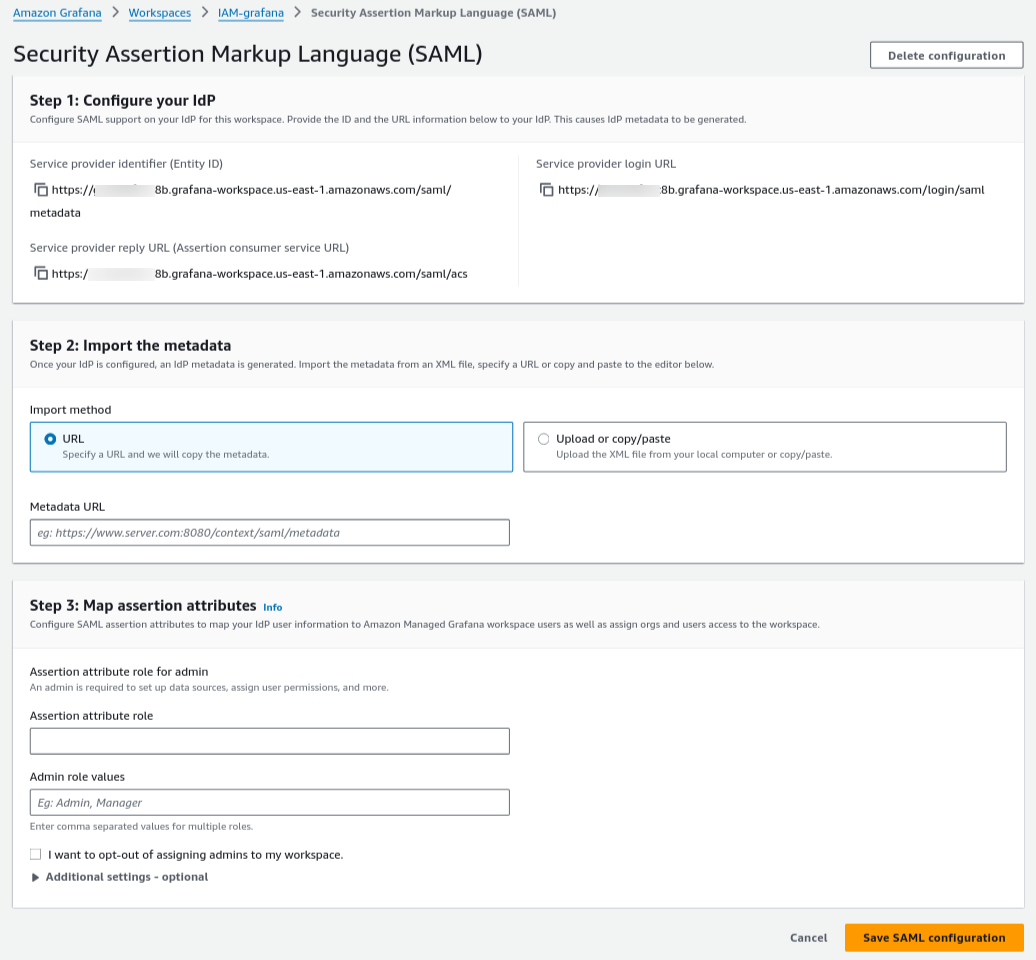
b) Copy the following three URLs and IDs. You'll need these in the next step:
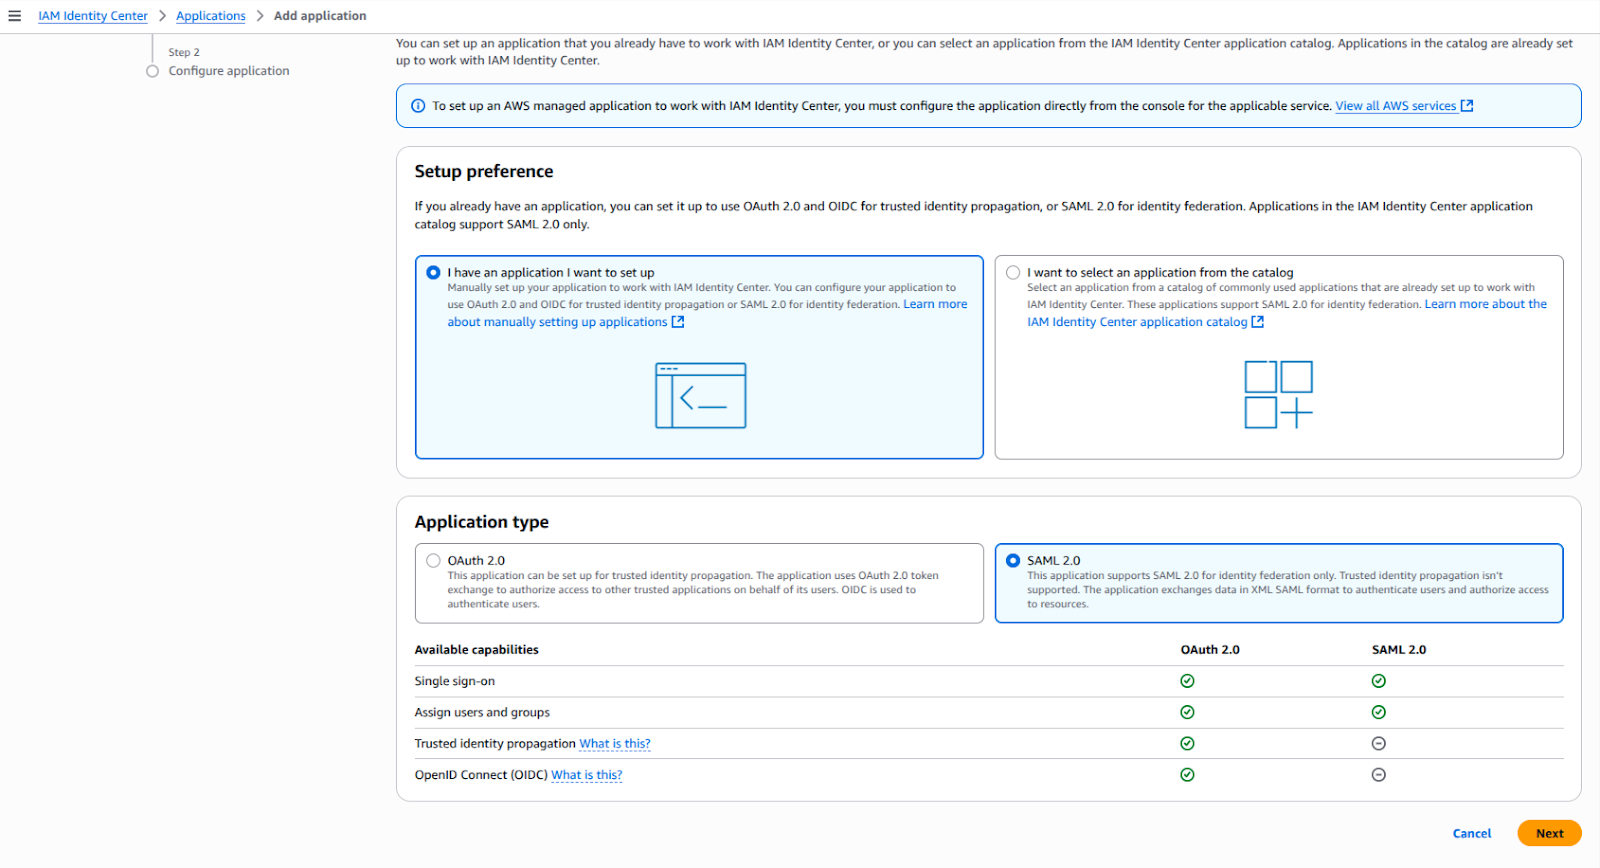
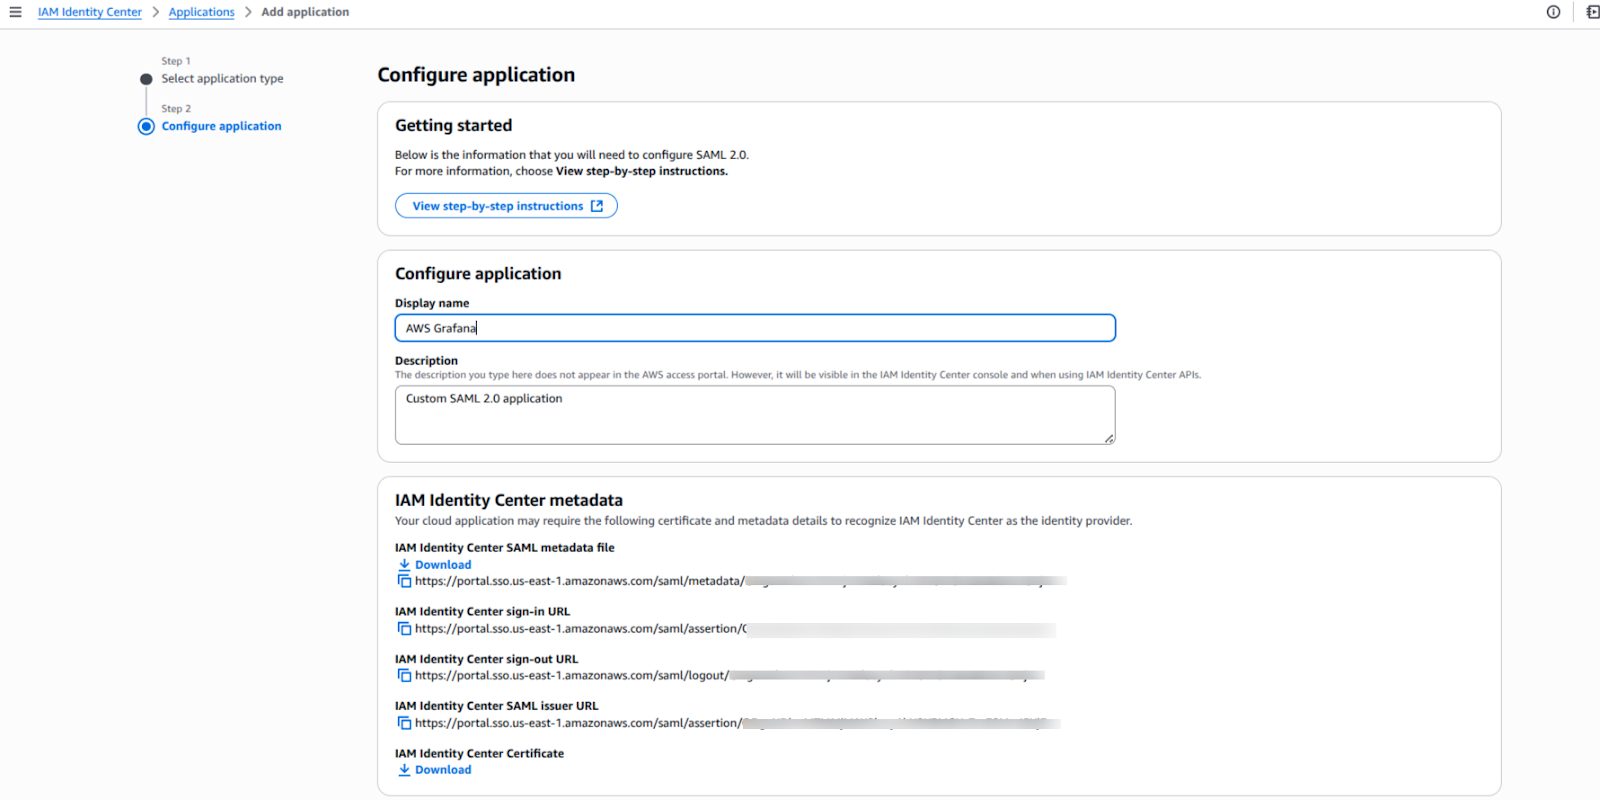
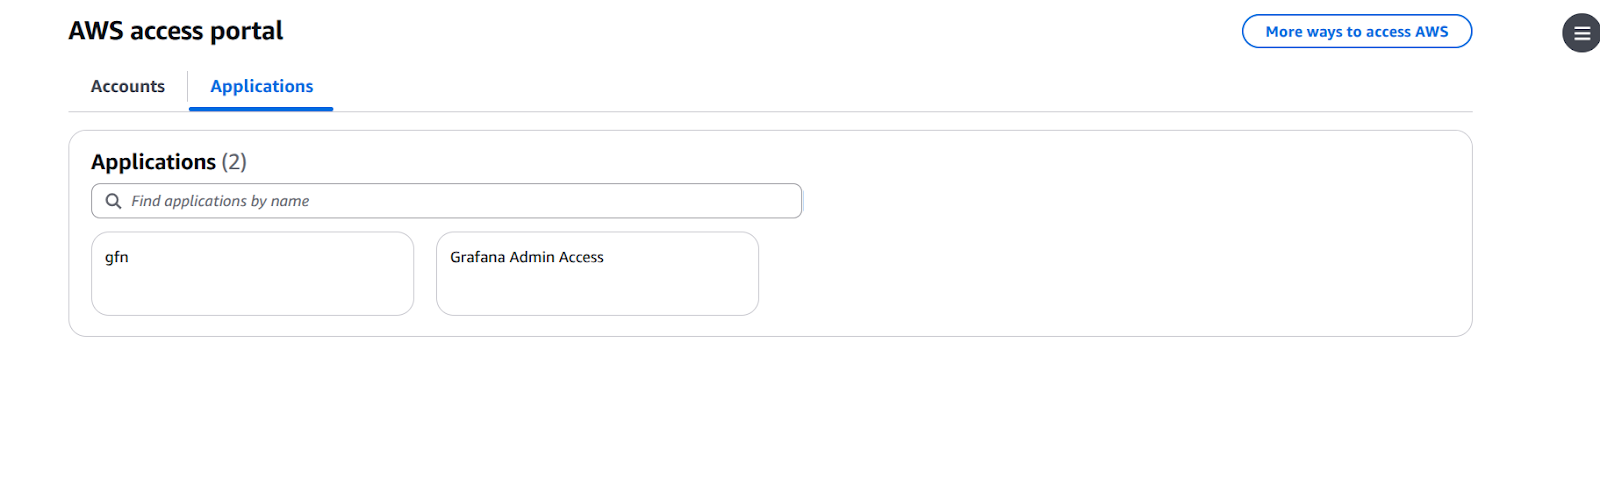
Now, we'll create a new application in the IAM Identity Center that will represent your Grafana workspace.
Next, you'll use the metadata URL from IAM Identity Center to configure Grafana.
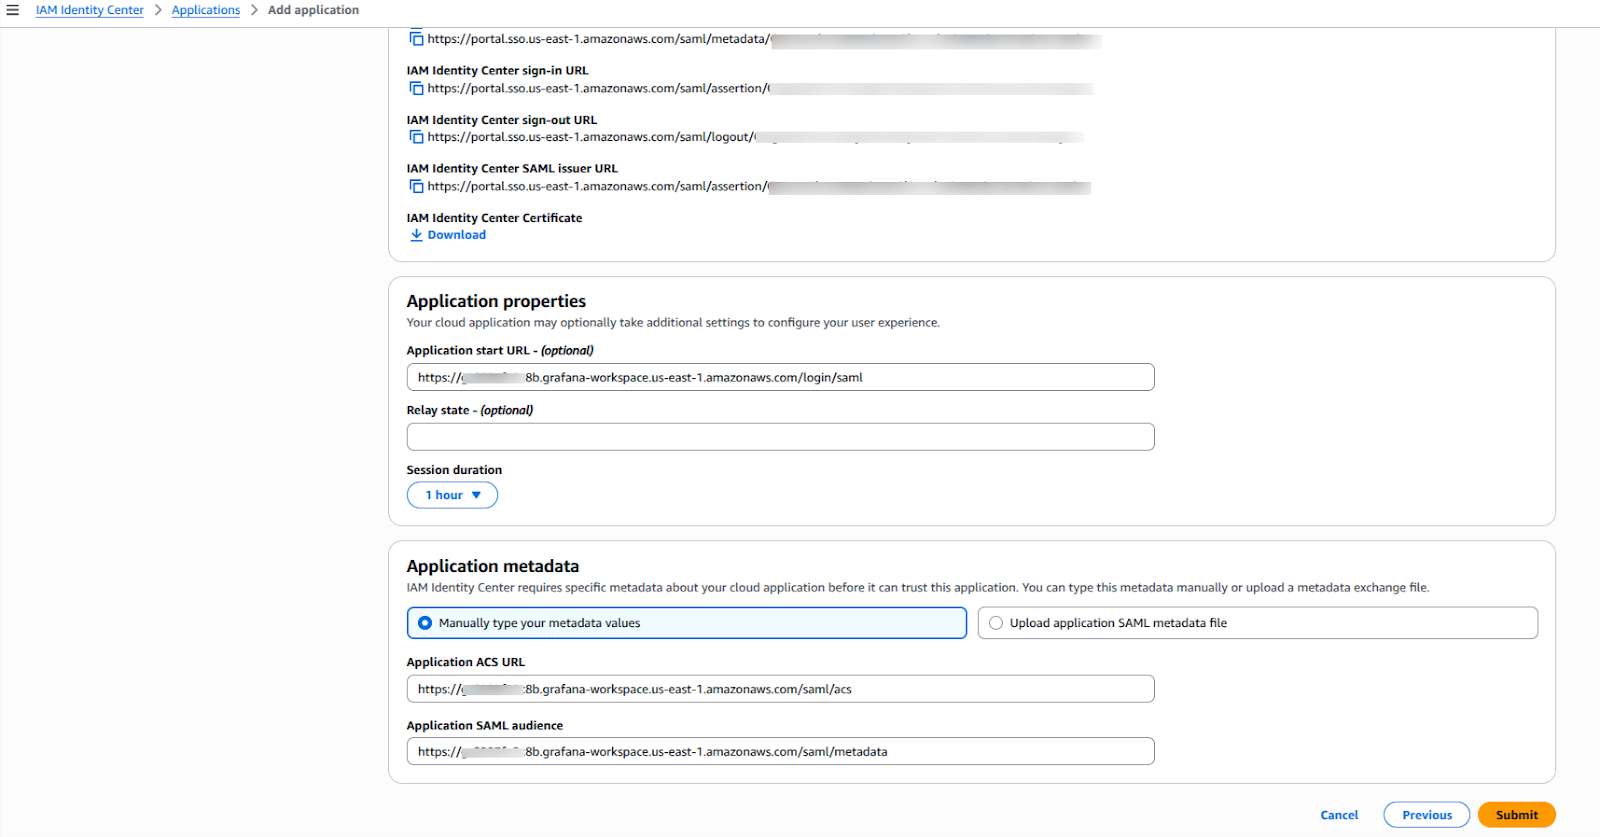
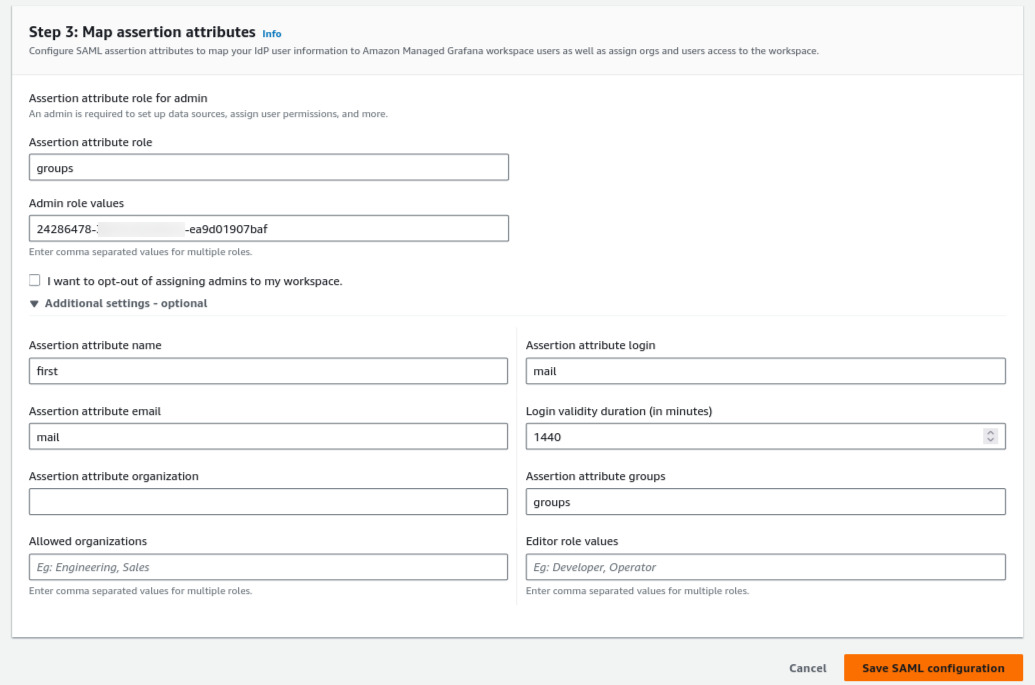
Now, you'll need to go back to IAM Identity Center and map the Grafana service provider details you copied in Step 1.
Return to the IAM Identity Center application you created.
Paste the Grafana details into the following fields:
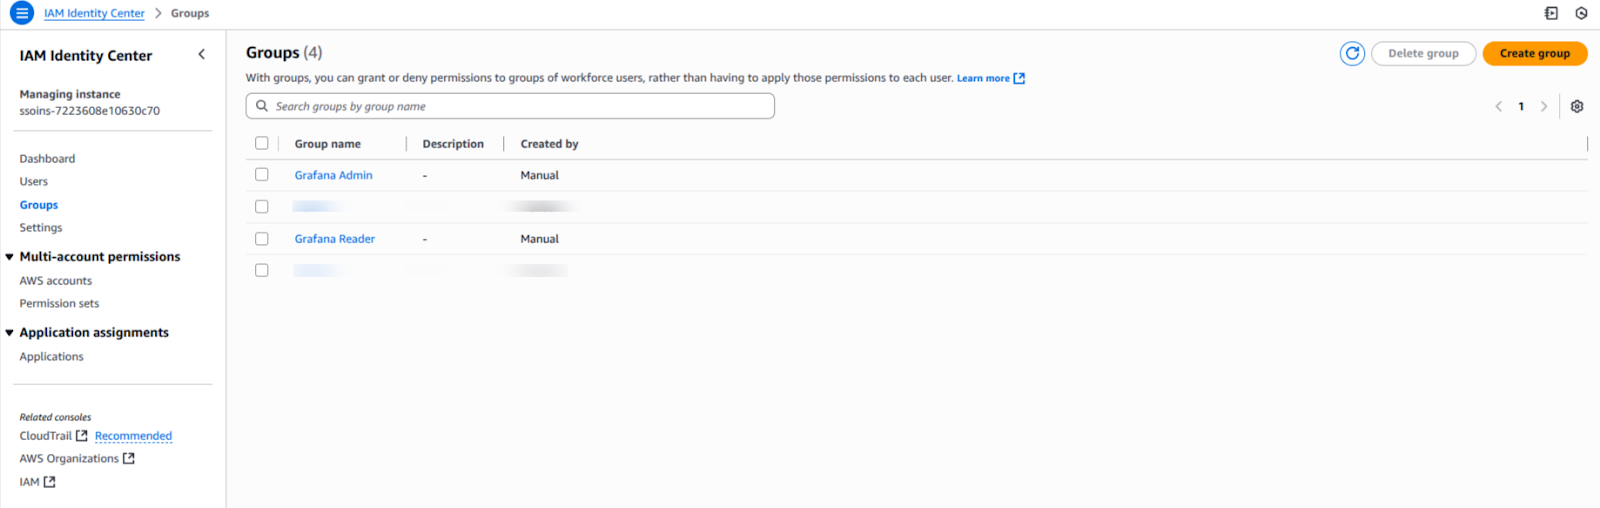
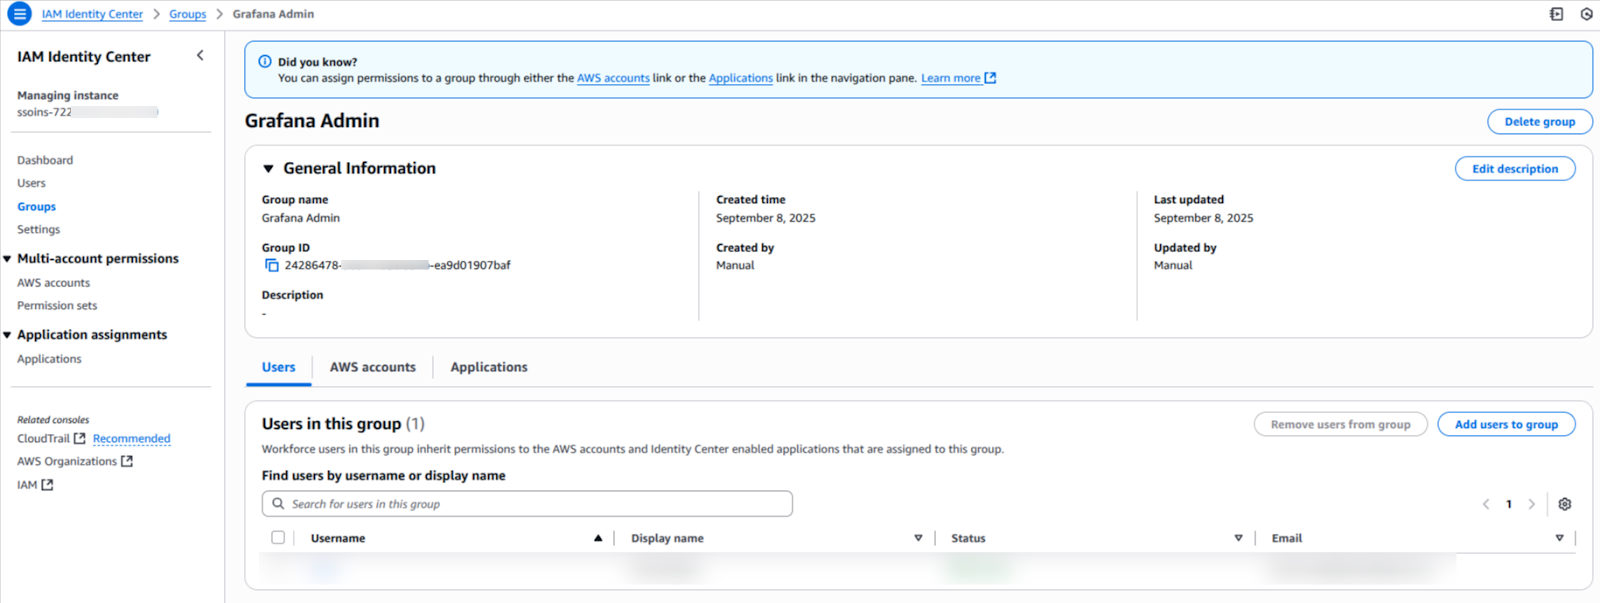
To manage user roles, you'll create groups in IAM Identity Center and link them to Grafana roles.
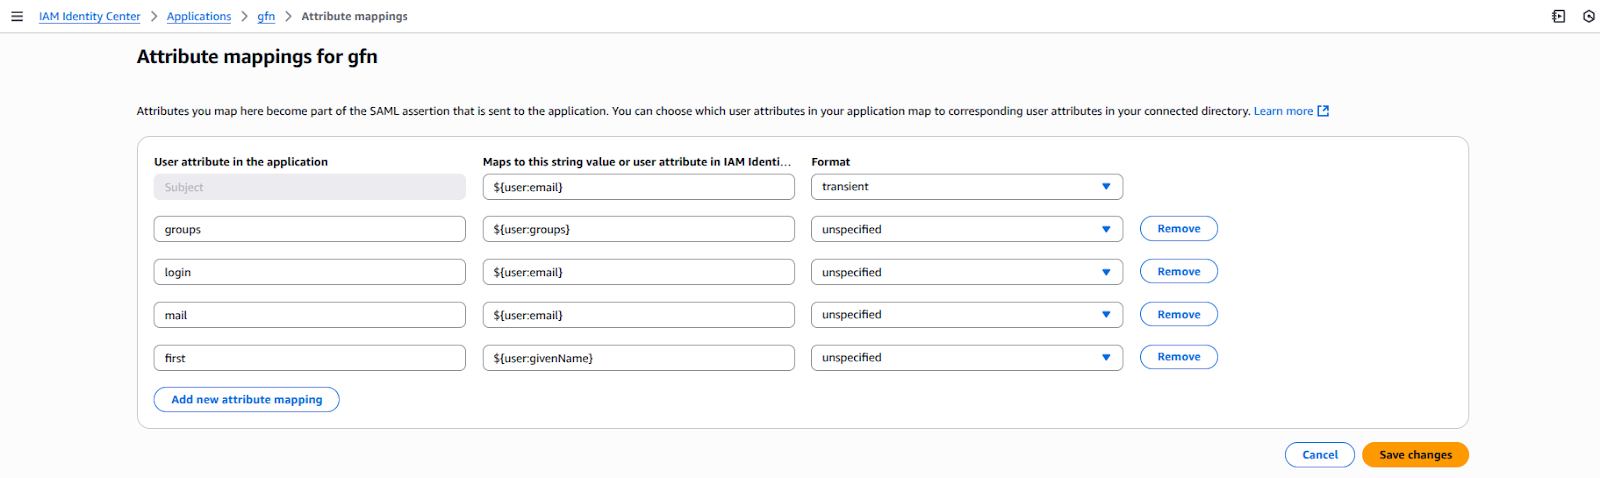
The final step is to assign the newly created groups to the application and define the attribute mappings that will pass user and role information from IAM Identity Center to Grafana.
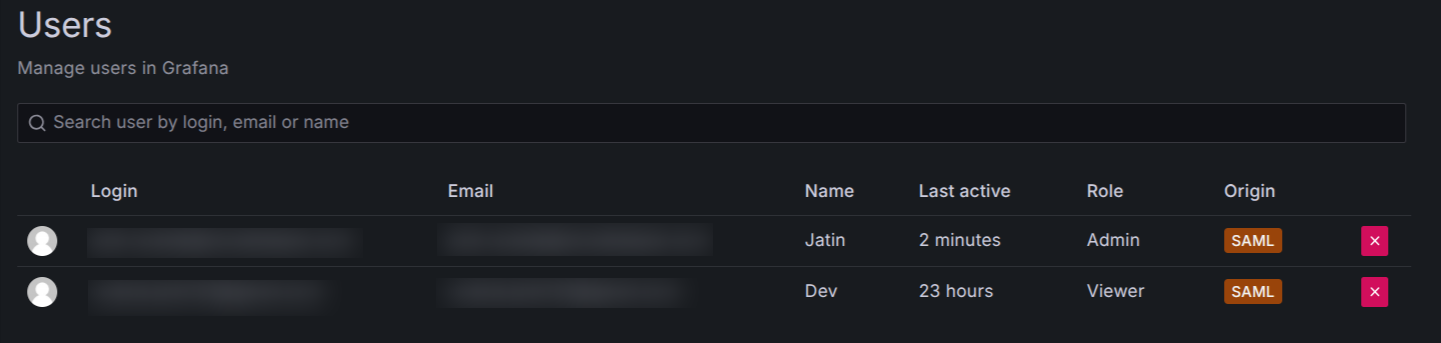
Click on the Assign users and groups button and add the Grafana-Admins and Grafana-Viewers groups to the application.
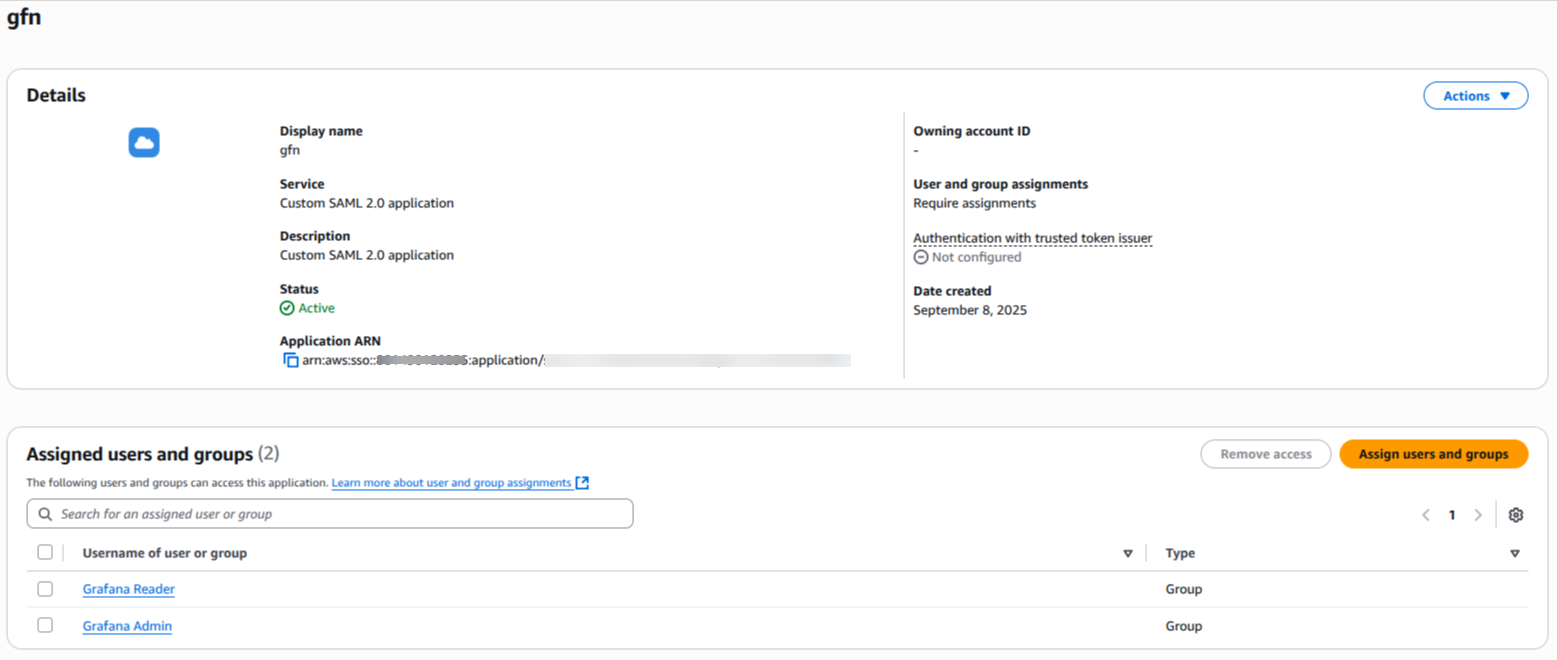
Users added to the Grafana-Admins group will be able to log in as administrators in Grafana. Similarly, users in the Grafana-Viewers group will have standard viewer access. You've successfully configured SAML authentication! 🎉
Check out our other guide: Signing into Amazon Managed Grafana with Google Workspace

99% of companies saved up to 15% monthly with this plan & achieved peak performance.

Speak with our advisors to learn how you can take control of your Cloud Cost


